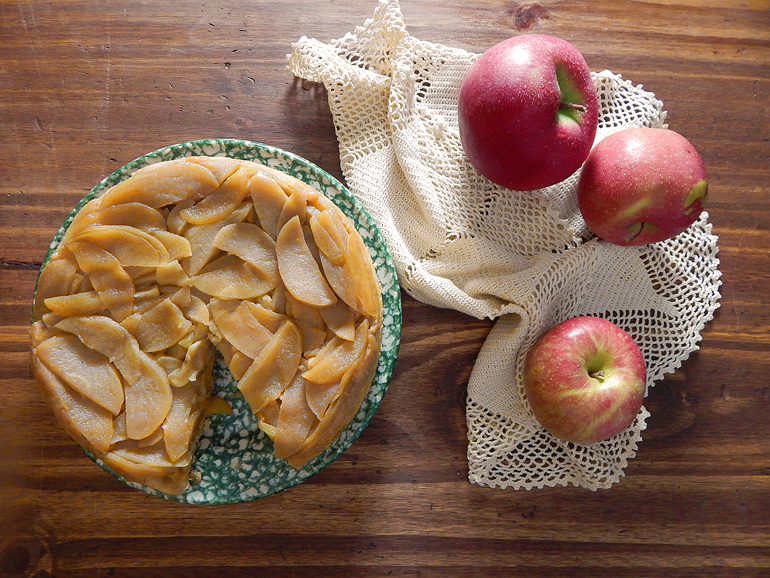
Apple Upside-Down Cake

Growing up in Florida I never saw an apple tree, I saw plenty of orange trees but always wished I could go apple picking. I would see images of people on fun apple picking outings and feel instantly envious! I wanted fall leaves and crisp cool autumn days! While everyone up north was wearing cozy fall sweaters I was still wearing my shorts and flip flops and blasting the air-conditioner! (I have to admit though that when there’s so much ice on the ground in the winter that I can’t walk my chihuahua I wish for Florida weather! ) Ack! We wish for what we don’t have sometimes! 

I didn’t get to see a real live apple tree until I moved to New York six years ago. Since picking my own apples was something I always wanted to do, when I got the chance I picked way too many for two people to ever eat! We gave some away but still had too many so I started making spiced apples in the crockpot for spooning over vanilla ice cream and stirring into oatmeal but I wanted to try a recipe that just lets the flavor of the apples shine through. I think this upside-down cake recipe really showcases my gorgeous apples without hiding behind a lot of spices although if you really wanted to you could certainly throw in some apple pie spice if you like.
The cake part of the recipe is really just a quick bread so it comes together easily plus the addition of cornmeal in the batter helps the cake hold up to the weight of the apples. Pre-cooking some of the apples before putting them in the bottom of the pan infuses the apples with caramel-like buttery goodness!

I definitely recommend using firm apples like Granny Smith so that your apples hold their shape during the cooking process. I did mix it up with what I used but all the apples I had were pretty firm.
You will need a 9-inch cake pan with 2-inch sides for this cake. If you don’t have one you could use an 8-inch square pan. Give this easy cake a try and let me know what you think!

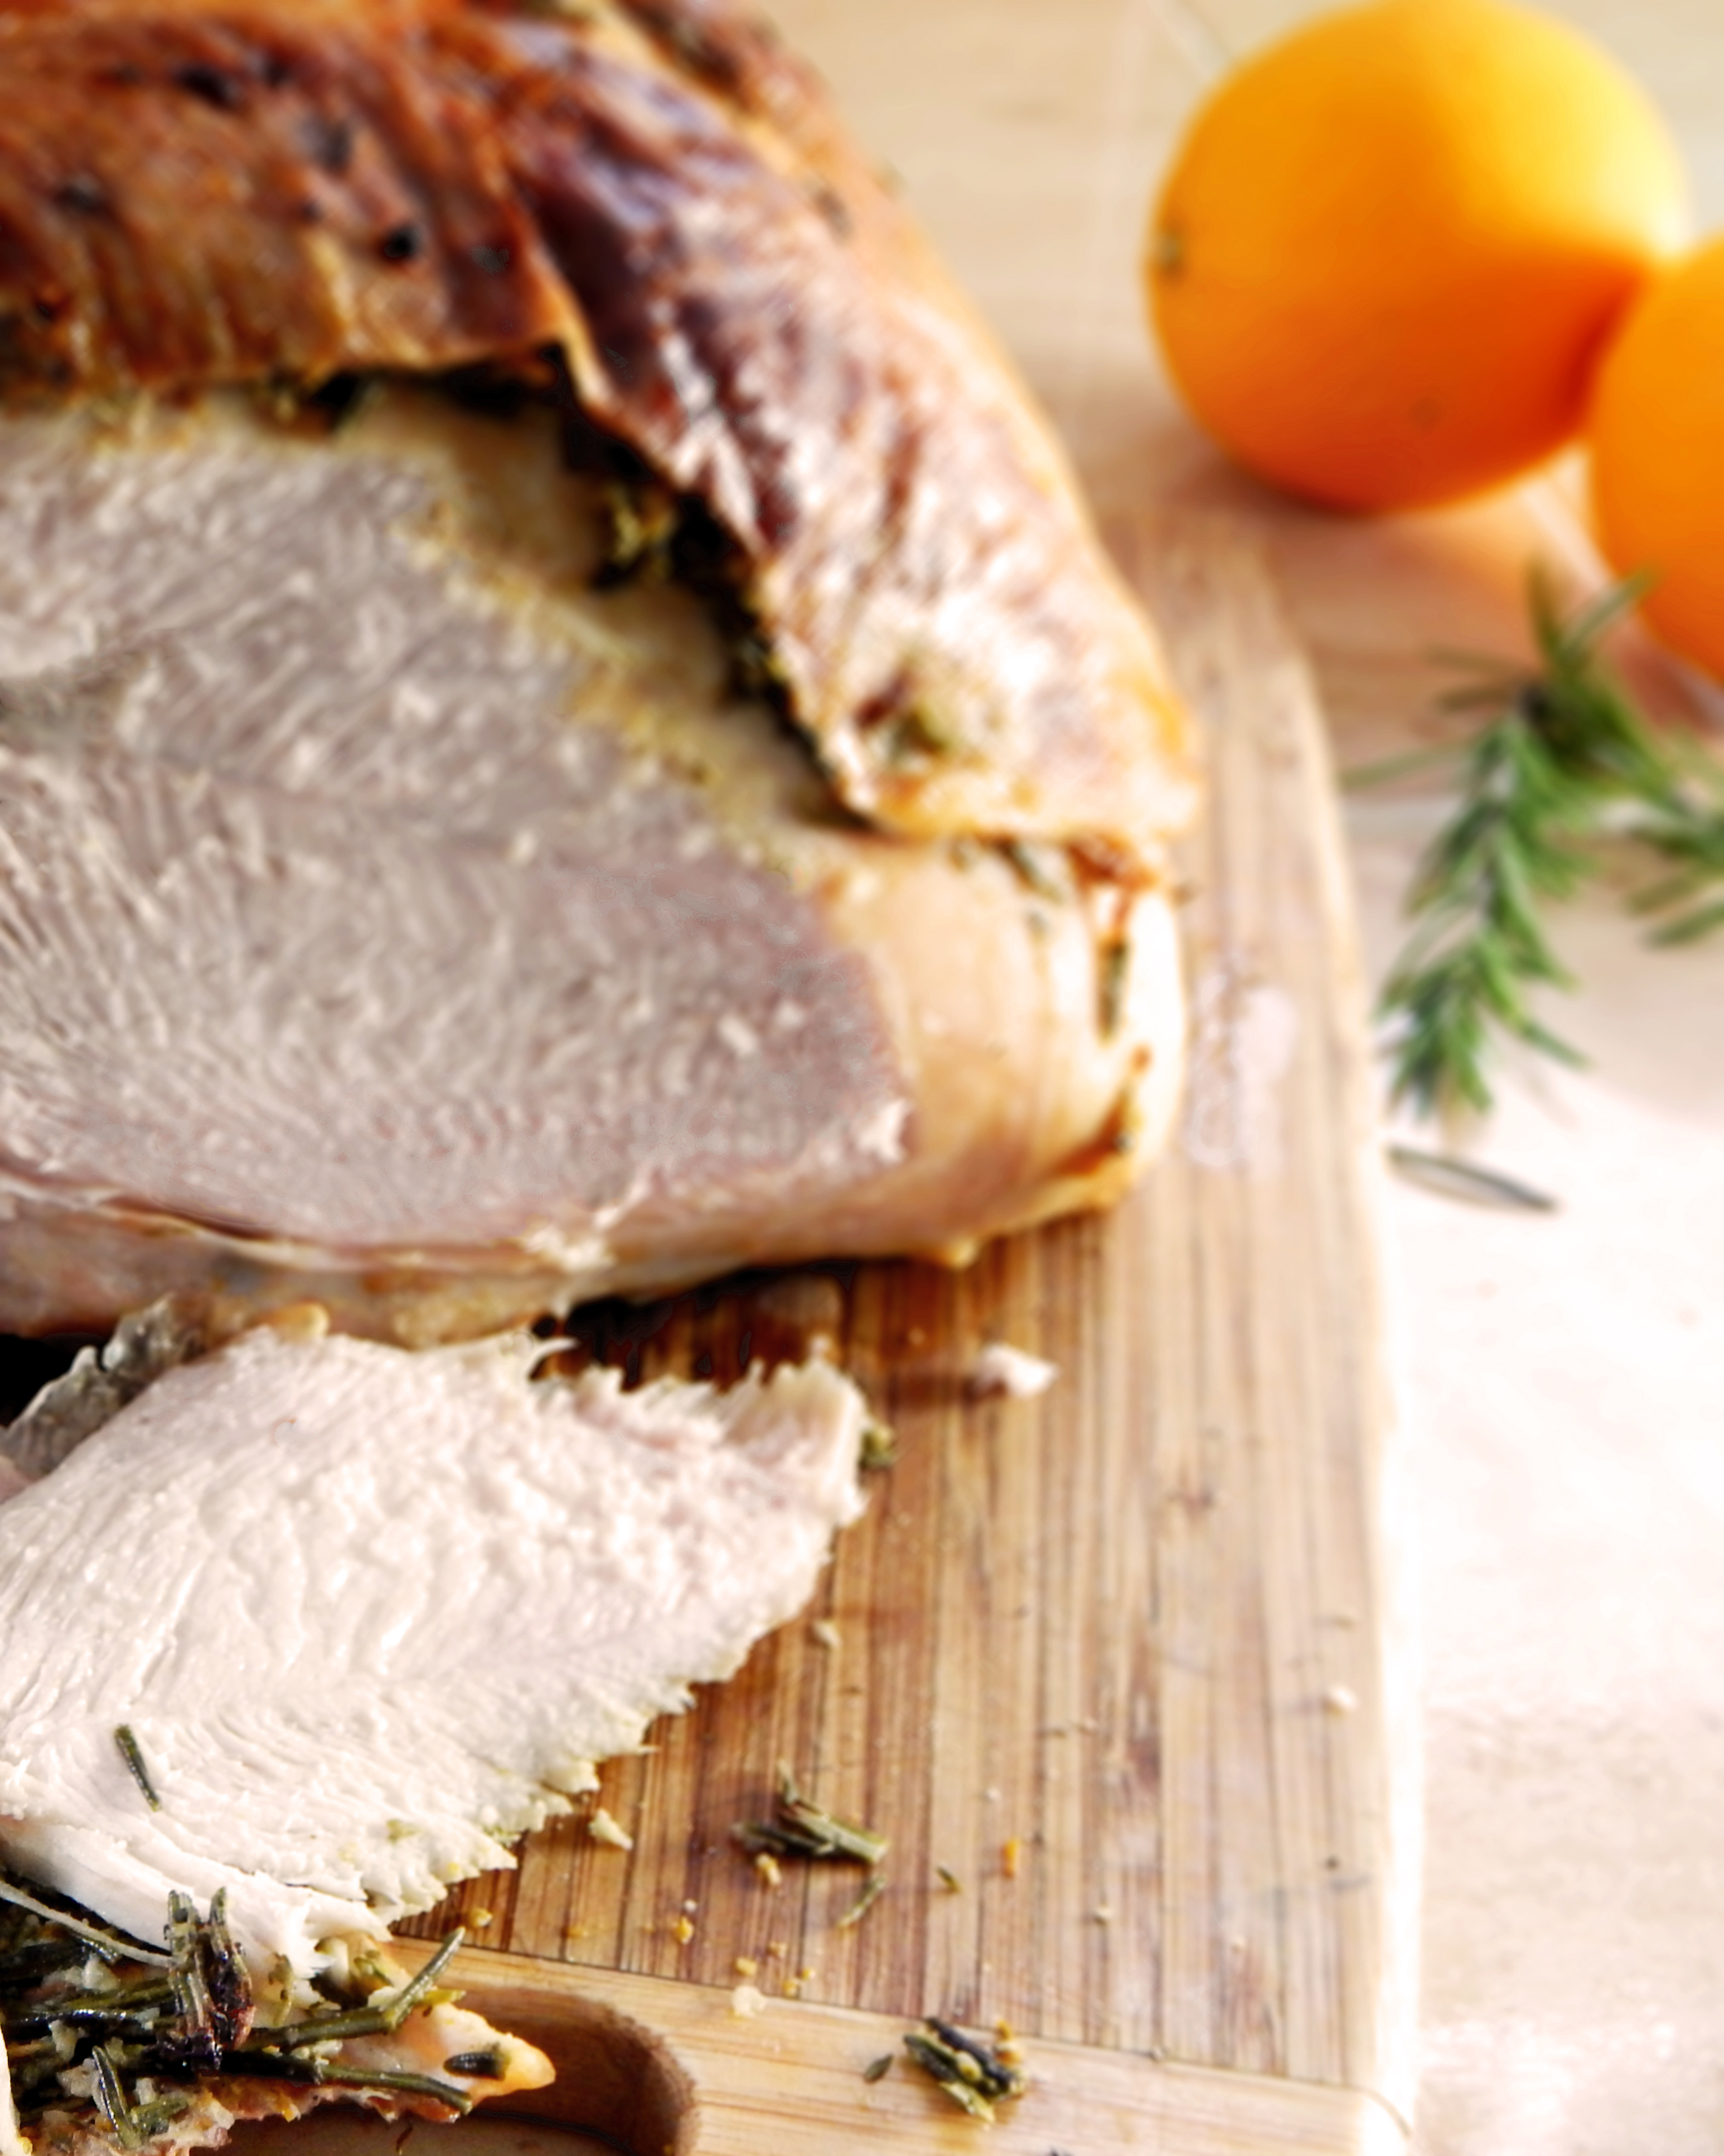
Orange and Rosemary Roasted Turkey Breast

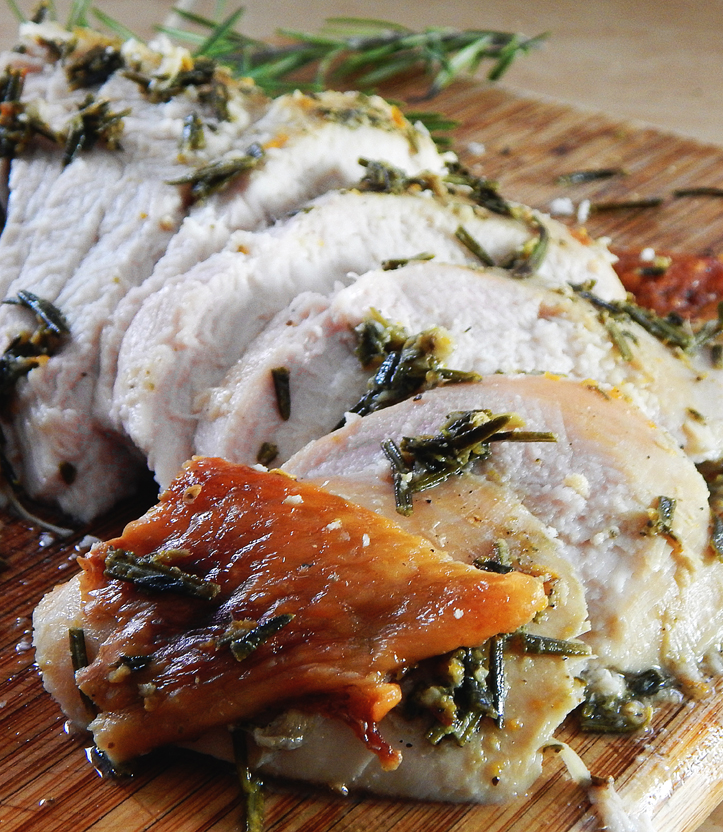
This roasted turkey breast is super easy and tastes amazing with the orange and rosemary mixture roasted under the skin. Starting the turkey off at a higher temperature ensures that the skin is crisp and then lowering the temperature to keep the meat moist results in the perfect main course for your Thanksgiving.
Sometimes you just don’t want or need a whole turkey so roasting a turkey breast is the perfect option. A turkey breast is perfect for a small gathering or just for the two of you. You’ll have left-overs but who doesn’t want that? I know I love the left-overs! It seems I enjoy it more the next day anyway. Maybe because all of the frenzy of cooking a big meal is over and you can just relax!
The first thing you’ll do is mix together the butter, garlic, rosemary, orange zest, red pepper flakes, salt, and pepper in a bowl.

Next you’ll carefully separate the skin from the turkey meat by sliding your hand in between the skin and breast and working your way up to the breast bone. It seems weird at first if you’ve never done it but hang in there…it’s easy! Once you’ve done that you will work half of the softened butter-herb mixture under one half of the turkey breast, repeating the process on the other side of the turkey breast.
Using your hands again, gently rub the turkey skin to evenly distribute butter over the entire breast. Basically you’re smoothing out all that butter and herb mixture so it’s evenly distributed under the skin.
Place the turkey in a V-rack sprayed with cooking spray and set it inside a large roasting pan. Pour one cup of water into the roasting pan.

Roast the turkey for 30 minutes. Reduce the oven temperature to 325 degrees. Continue roasting turkey until the thickest part of breast registers 160 degrees on instant-read thermometer, about 1 hour longer. Transfer turkey to carving board and let rest for 20 minutes before carving.
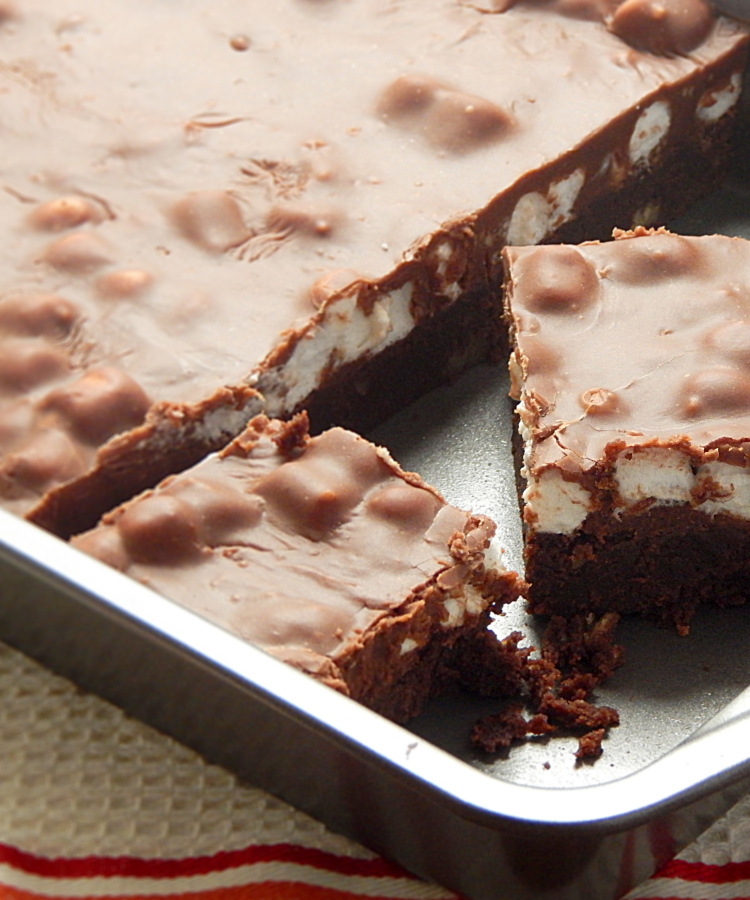
Mississippi Mud Brownies
I was seriously craving chocolate after seeing all the Christmas dessert recipes all over the web and this brownie really delivers on ooey-gooey, nutty, chocolatey yumminess!
These brownies have lots of chocolate! There is a dense, chocolatey, nutty brownie layer on the bottom, on top of that are the marshmallows, and then you top all of that with a layer of chocolate frosting! You really need to try these for yourself!

You’re definitely going to want a glass of milk with these! These are super easy to throw together. You’ll definitely want to share these, well maybe…  This recipe makes 24 brownies and I don’t think even I can eat that many, and I LOVE brownies!

So don’t make regular ole brownies when you can take your brownies to the next level with these!

Sweet Potato and Turnip Gratin
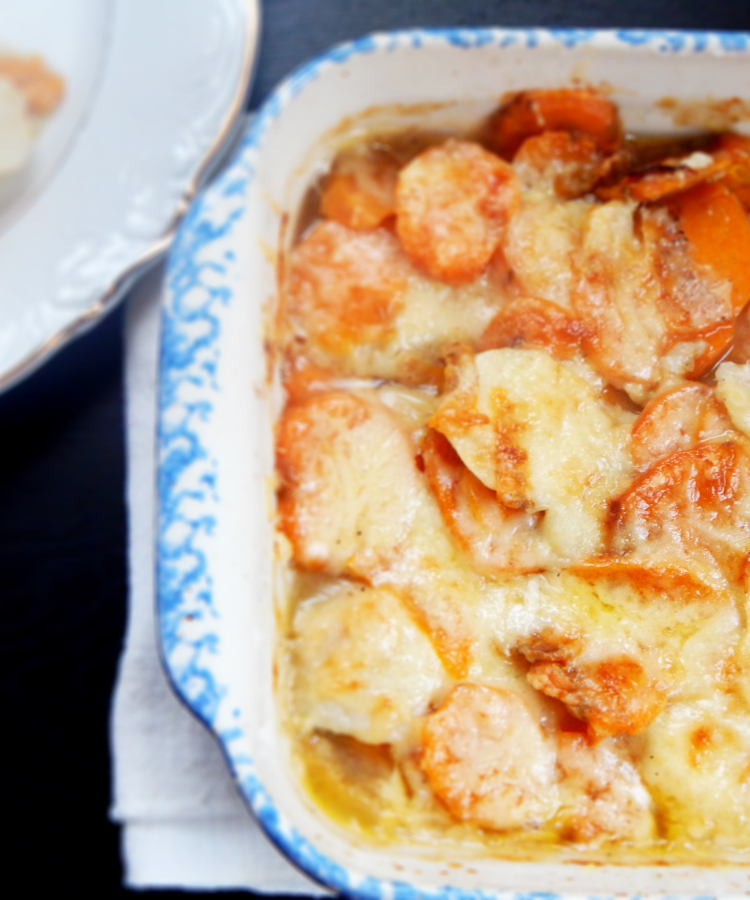

If you still haven’t finished up your menu for Thanksgiving or you’re supposed to bring a side and you haven’t decided what to bring yet, this one is perfect! Sweet potatoes are classic Thanksgiving fare but this recipe adds earthy turnips to the mix which is unexpected but oh so good! The addition of Gruyère cheese and white wine elevate it to special occasion status but it’s easy enough to make anytime!
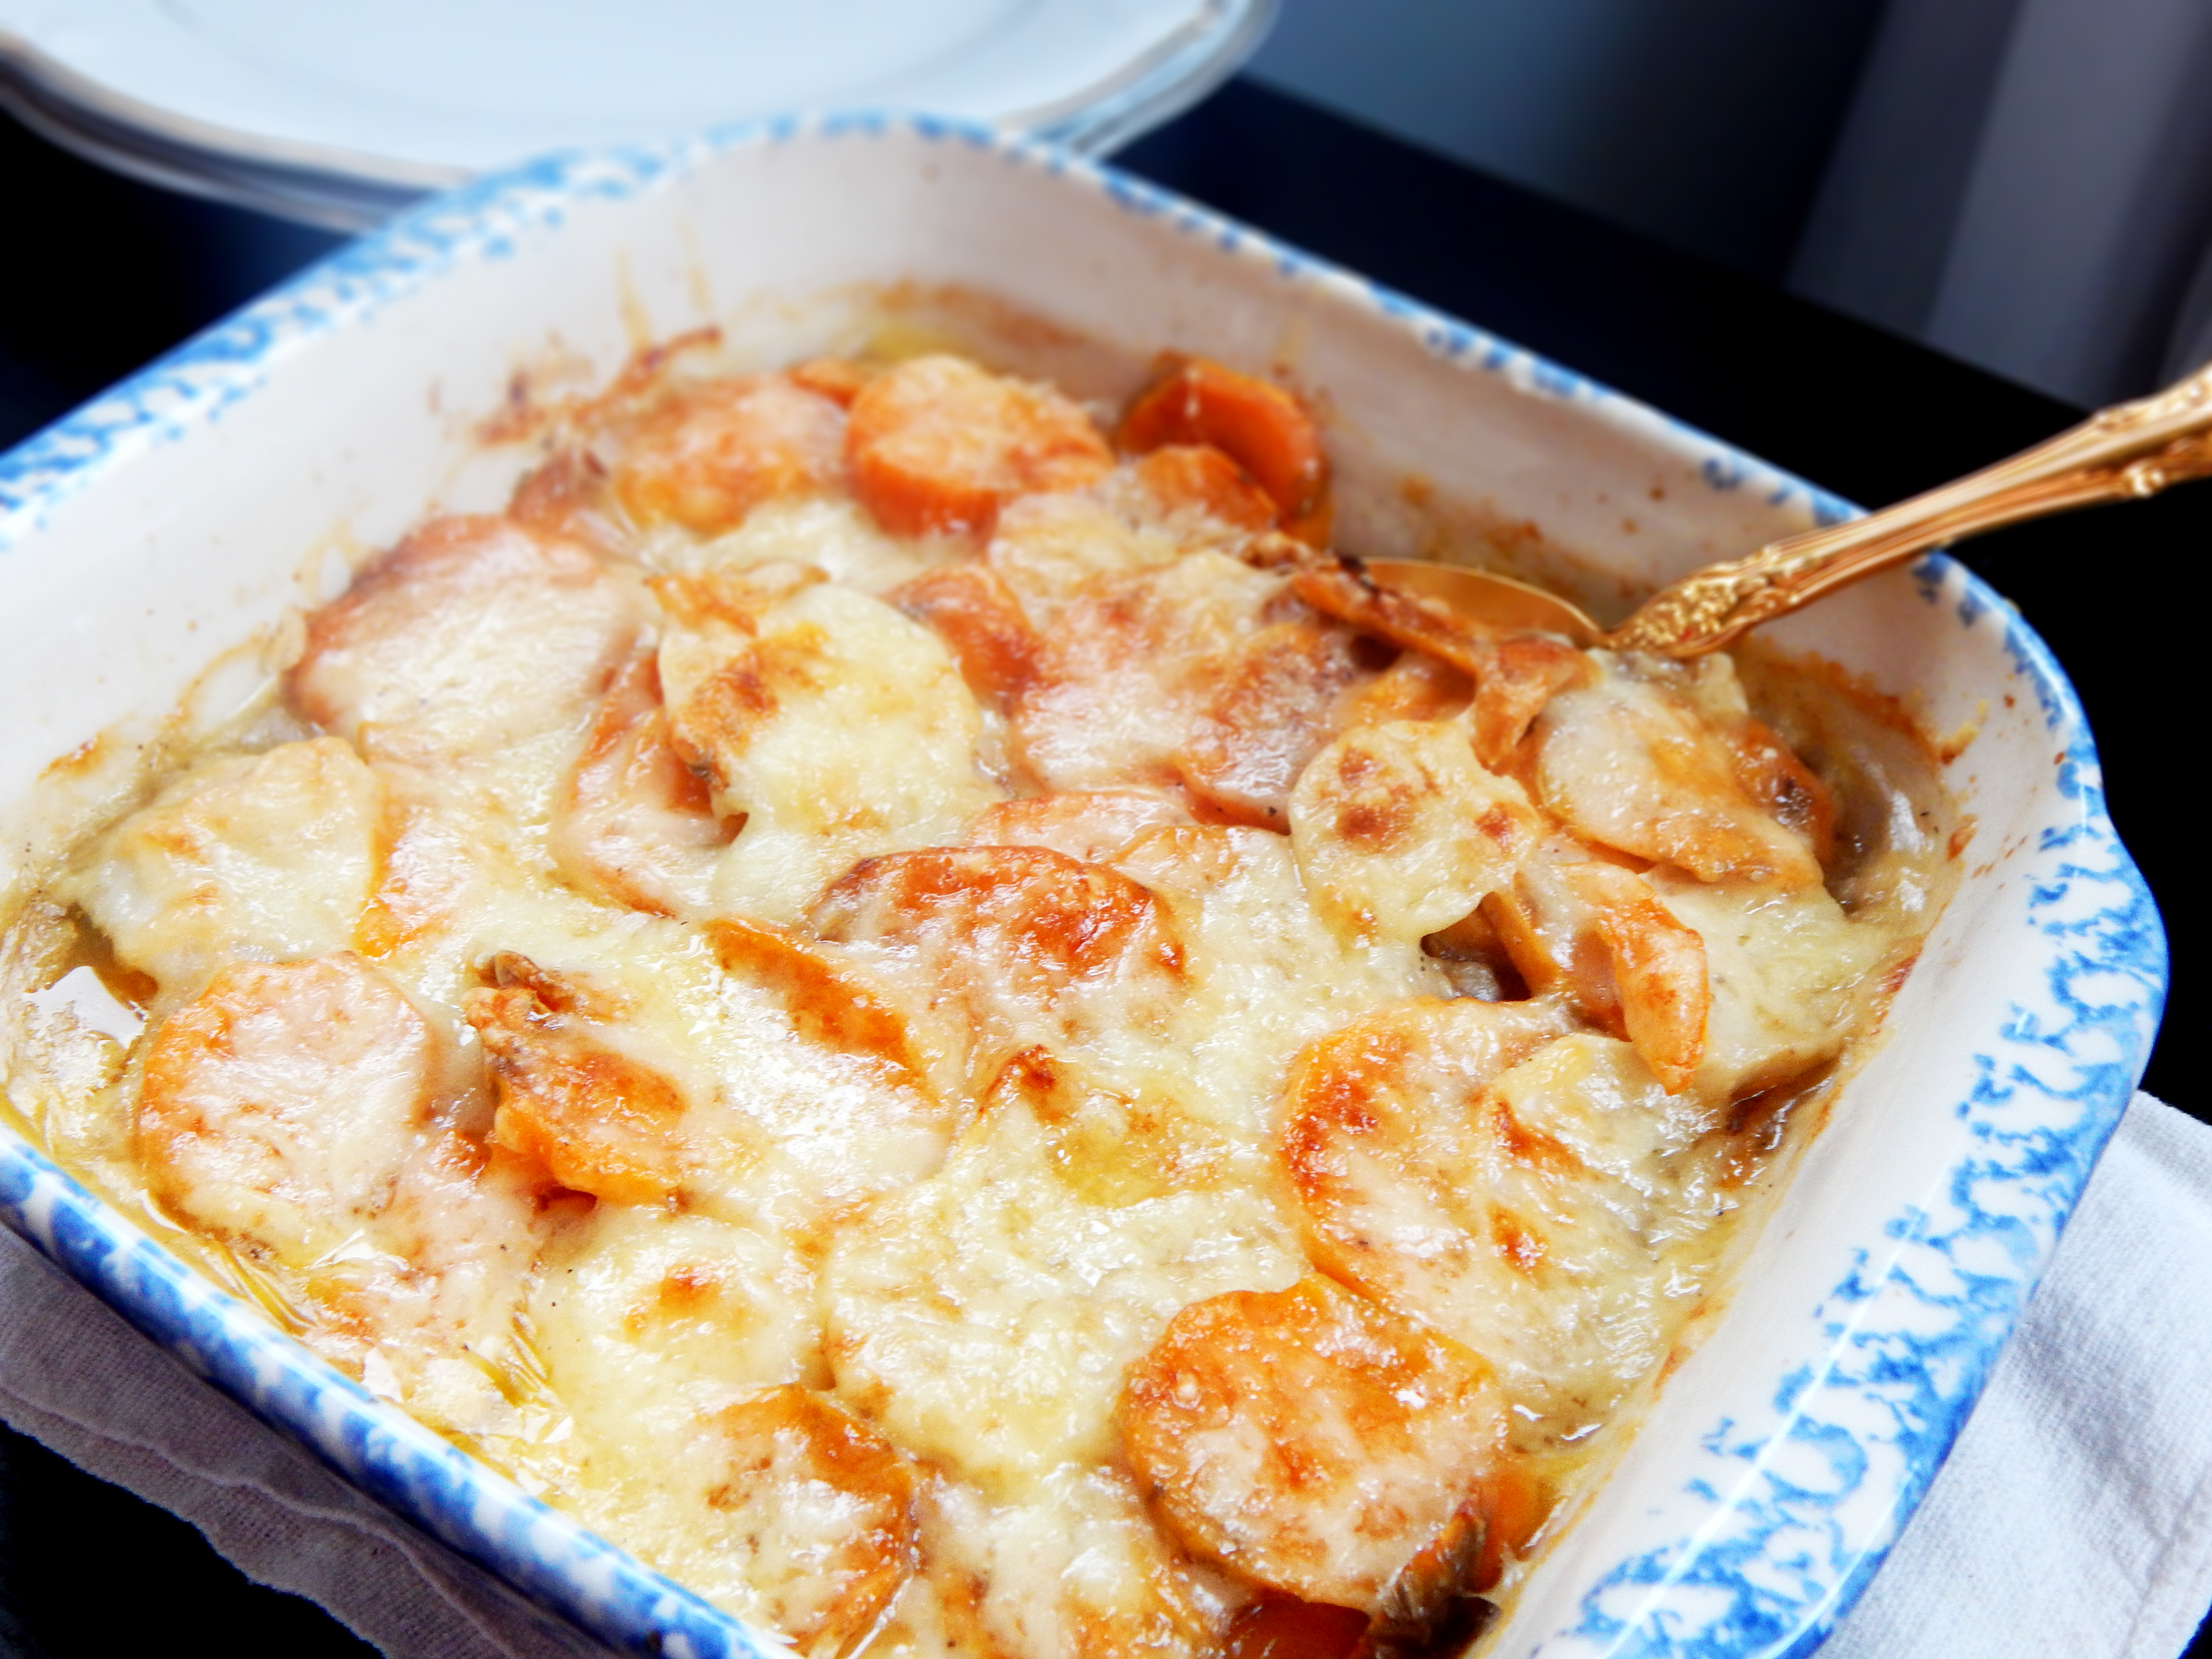
Take care to slice the sweet potatoes and turnips no more than 1/4 inch thick. I tried my mandoline but found the slices were way to thin so I used a sharp knife instead. Be sure to salt and pepper and add flour to each layer. Gently pour over the chicken broth and wine, cover with foil and bake. Add the cheese after the potatoes are tender and brown in the oven, it’s that simple! If you’re feeding more than six you may want to double this recipe and bake it in a 13 x 9 pan. You will definitely want to taste the potatoes to make sure they are tender before adding the cheese. I needed a full hour in the oven to get mine tender.

If you make this, let me know what you thought! Tom taste-tested this for me about a half hour ago…he’s now sleeping! He taste-tested A LOT of it so I think that means he liked it!
The Ultimate Banana Bread

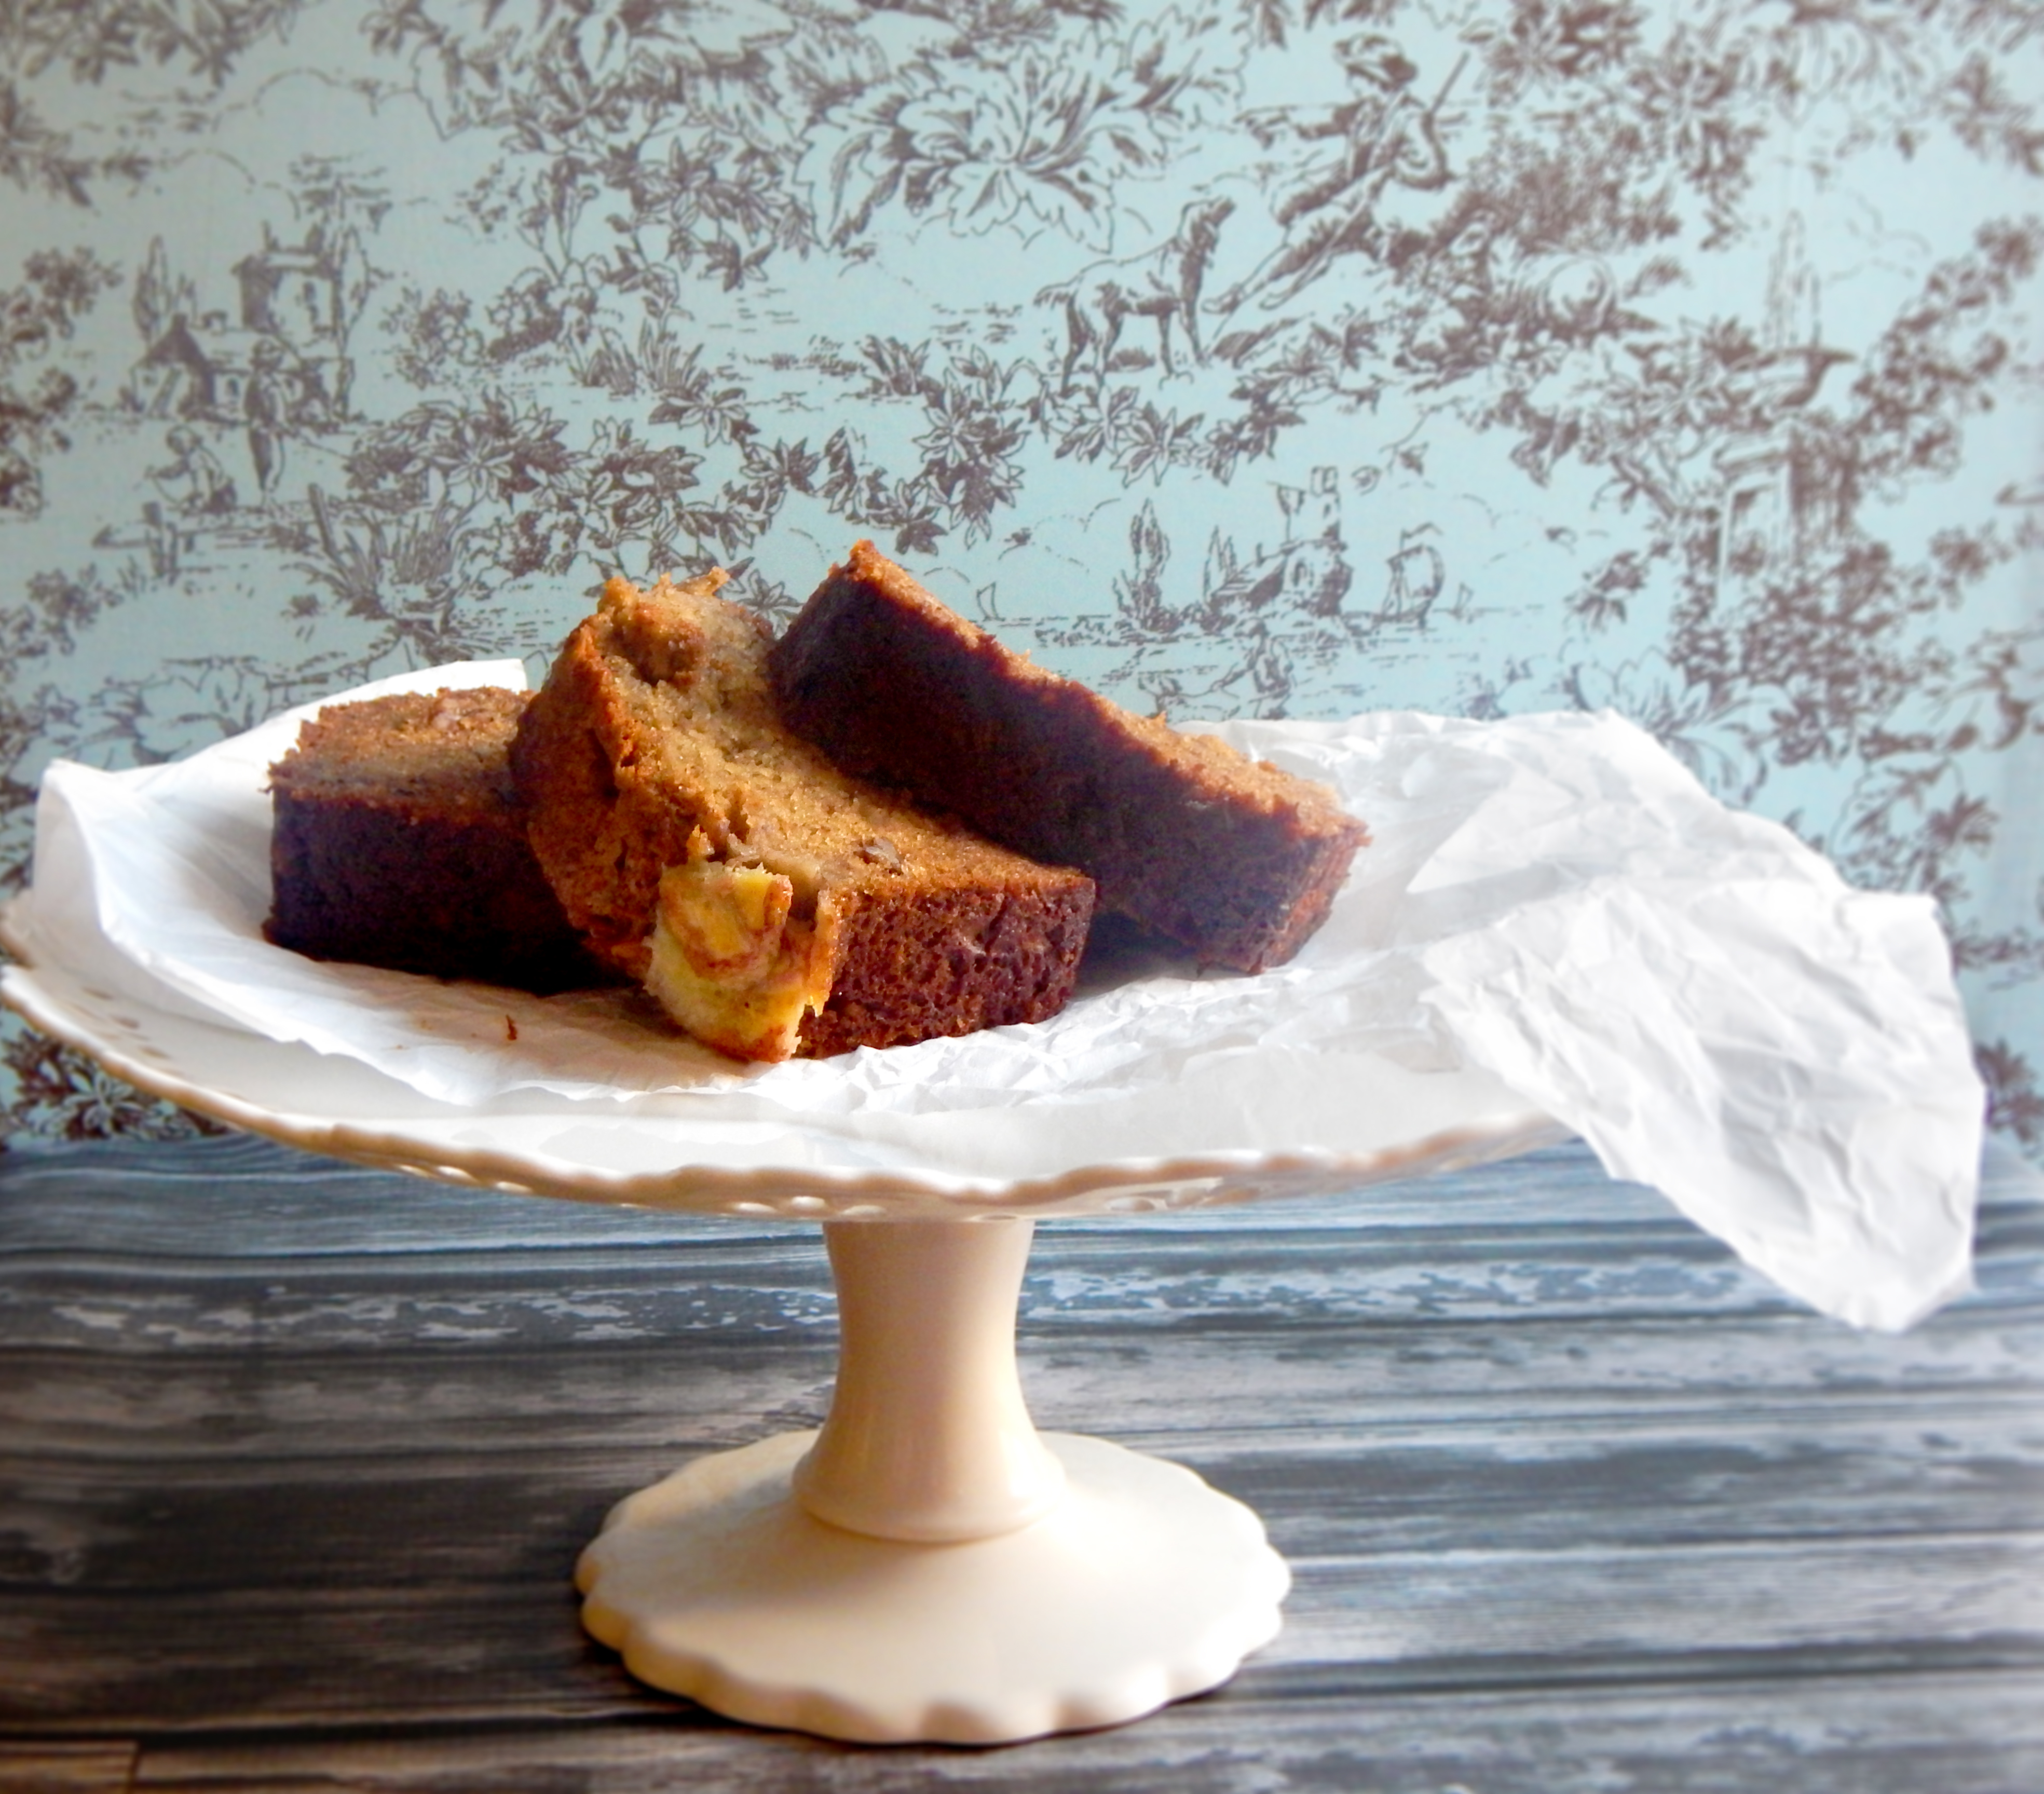
If you’re looking for the best banana bread but don’t want to make a dozen recipes trying to find it, rest easy, I’ve done it for you! This recipe from Cooks Illustrated has a little science behind it in extracting the most banana flavor possible from bananas for a moist, tender loaf with over-the-top banana flavor!

Most banana bread recipes use just 3 bananas but this one uses 6! How do you add that many bananas without getting pudding you ask? There’s a secret to it….we’ll extract the juice from the bananas!
Who Knew Bananas had Juice?
We’ll add banana flavor without adding too much moisture to our banana bread by microwaving the fruit and draining it. Then we’ll simmer the banana liquid in a saucepan until it’s reduced and then incorporate it into the batter. We’ll use brown sugar instead of granulated and swap out oil for the nutty richness of butter. Toasted pecans give our banana bread a nice crunch, and a sixth banana sliced thin and caramelized on top of the loaf gives this banana bread an enticingly crisp, crunchy top.
Do it Ripe!
As bananas ripen, their starch converts to sugar so be sure to use very ripe, heavily speckled (or even black) bananas in this recipe. If you use anything less than very ripe bananas, you’ll end up with a very bland loaf.
EXTRACT JUICE
Microwaving ripe bananas for 5 minutes causes them to release “juice.”
STRAIN IT OUT
After straining the bananas, you should have 1/2 to 3/4 cup of liquid to work with.
REDUCE THE JUICE
Reducing the banana liquid yields a concentrated liquor, intensifying flavor without making the loaf wet.

Pour the reduced banana juice back into the bananas, mash and add the butter, eggs, brown sugar and vanilla. Pour banana mixture into the flour mixture and stir until just combined with some streaks of flour remaining. Gently fold in the pecans. Pour the batter into a pan sprayed with cooking spray. Add the 6th banana to the top, layering the banana slices on either side of the loaf. This will add more banana flavor and it looks pretty! Make sure to leave a 1 1/2 inch wide space down the center so the loaf will rise evenly.

It really is best after it’s been cooled a bit and fresh from the oven. That’s when the crust is the crunchiest! Okay enough talking, the banana bread is calling me!
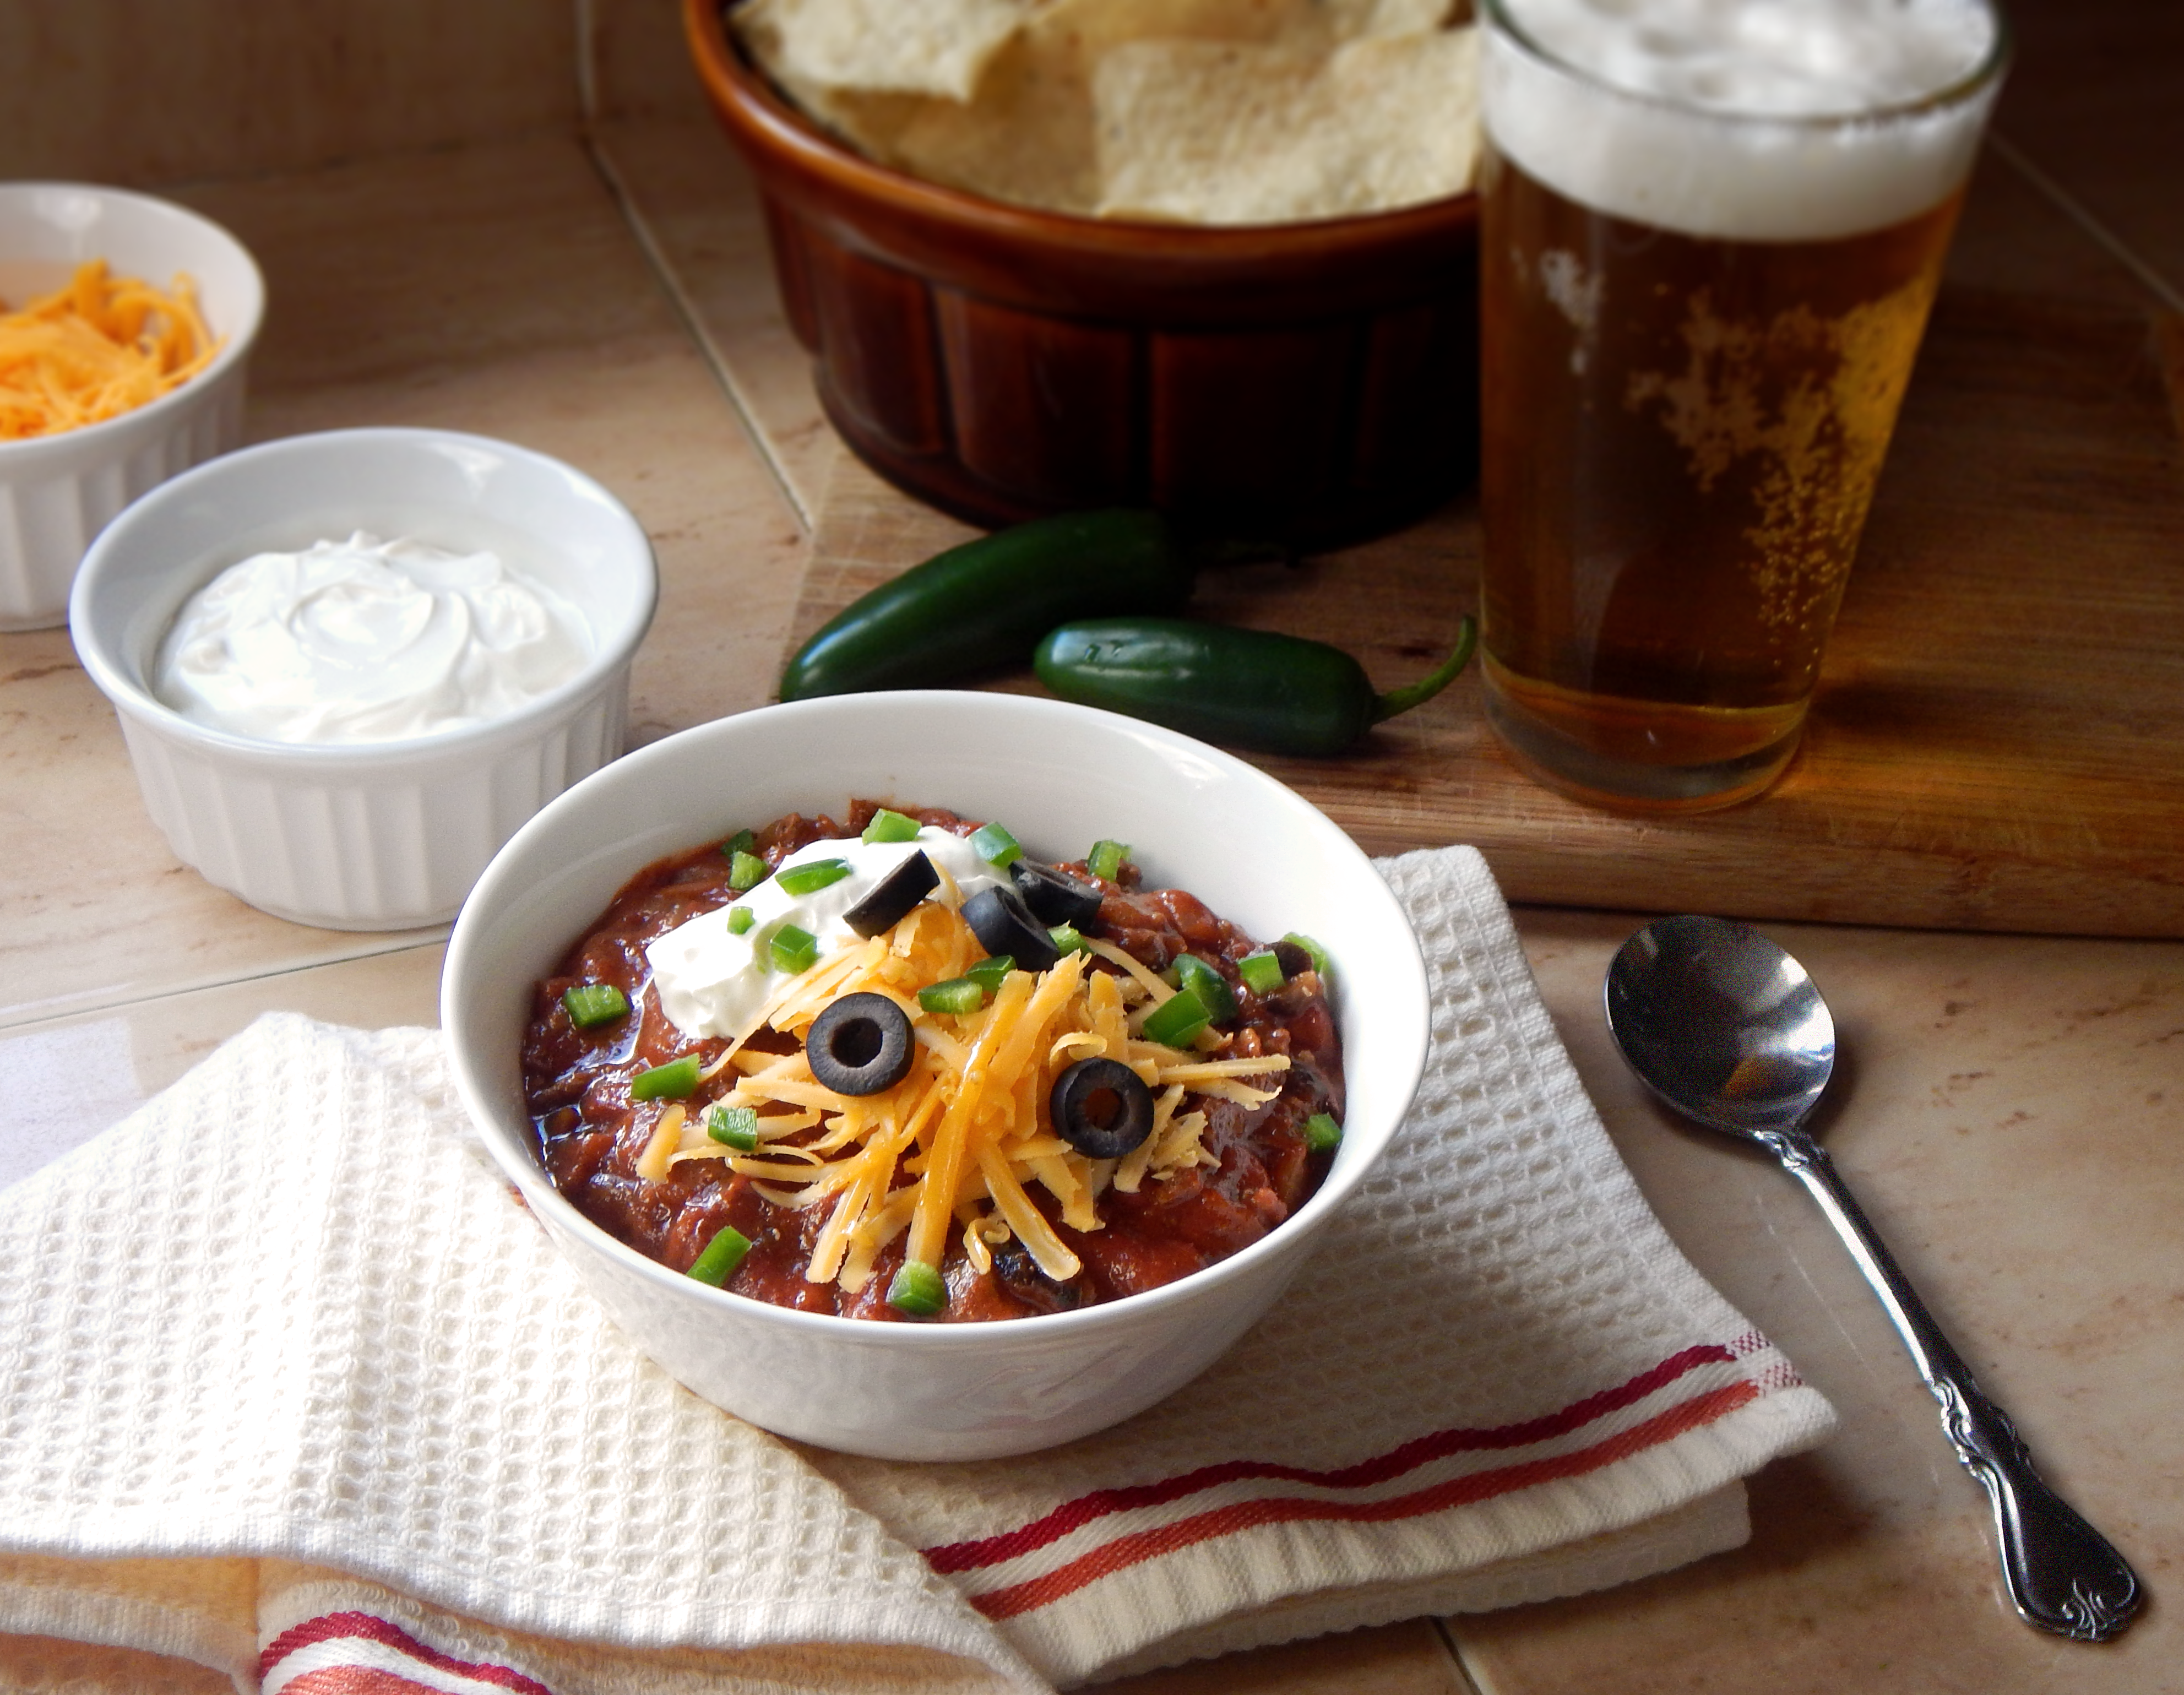
Cook-Off Chili
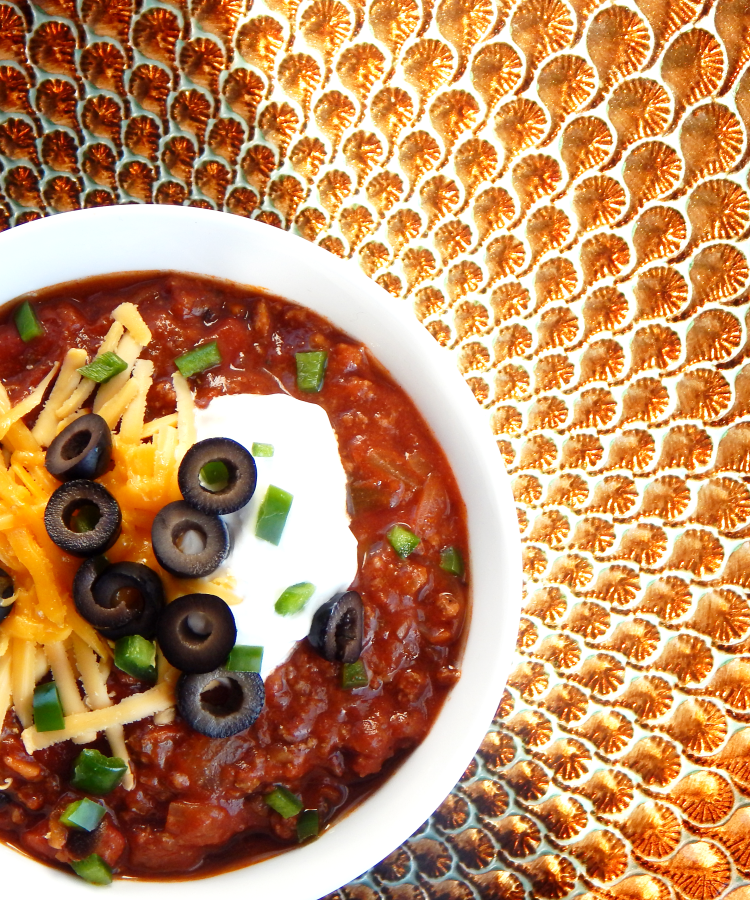
I have been making this chili for awhile now and like I said in my post Cook-Off Chili for Two, everyone always asks for the recipe, my family especially! I get called or emailed several times when fall kicks in with family asking for the recipe when I’ve given it to them a dozen times! They are always just tossing the email that had the recipe or lost the paper they wrote it down on so when I said I was starting a food blog, the first thing they all said was, PLEASE put that chili recipe up so I can just go to your site and get it whenever I want! Hahaha! That makes me laugh! So…here it is! I think I might actually miss getting those email requests and phone calls now!

This recipe serves 6-8, but you can easily double it if you’re hosting a party and need to feed a crowd, just use a big pot! Chili is such an effortless way to entertain. Put everything out and let everyone help themselves and put whatever they want on top. Some topping options are shredded Cheddar cheese, sour cream, chopped onion, chopped jalapeno, sliced ripe olives. Serve it with tortilla chips or even rice or elbow macaroni noodles!