Orange and Rosemary Roasted Turkey Breast

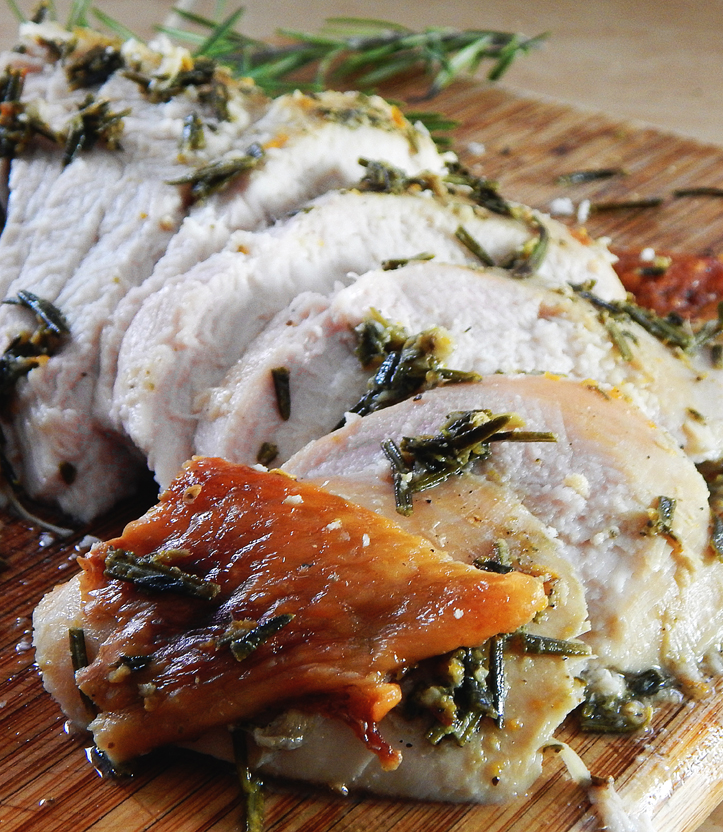
This roasted turkey breast is super easy and tastes amazing with the orange and rosemary mixture roasted under the skin. Starting the turkey off at a higher temperature ensures that the skin is crisp and then lowering the temperature to keep the meat moist results in the perfect main course for your Thanksgiving.
Sometimes you just don’t want or need a whole turkey so roasting a turkey breast is the perfect option. A turkey breast is perfect for a small gathering or just for the two of you. You’ll have left-overs but who doesn’t want that? I know I love the left-overs! It seems I enjoy it more the next day anyway. Maybe because all of the frenzy of cooking a big meal is over and you can just relax!
The first thing you’ll do is mix together the butter, garlic, rosemary, orange zest, red pepper flakes, salt, and pepper in a bowl.
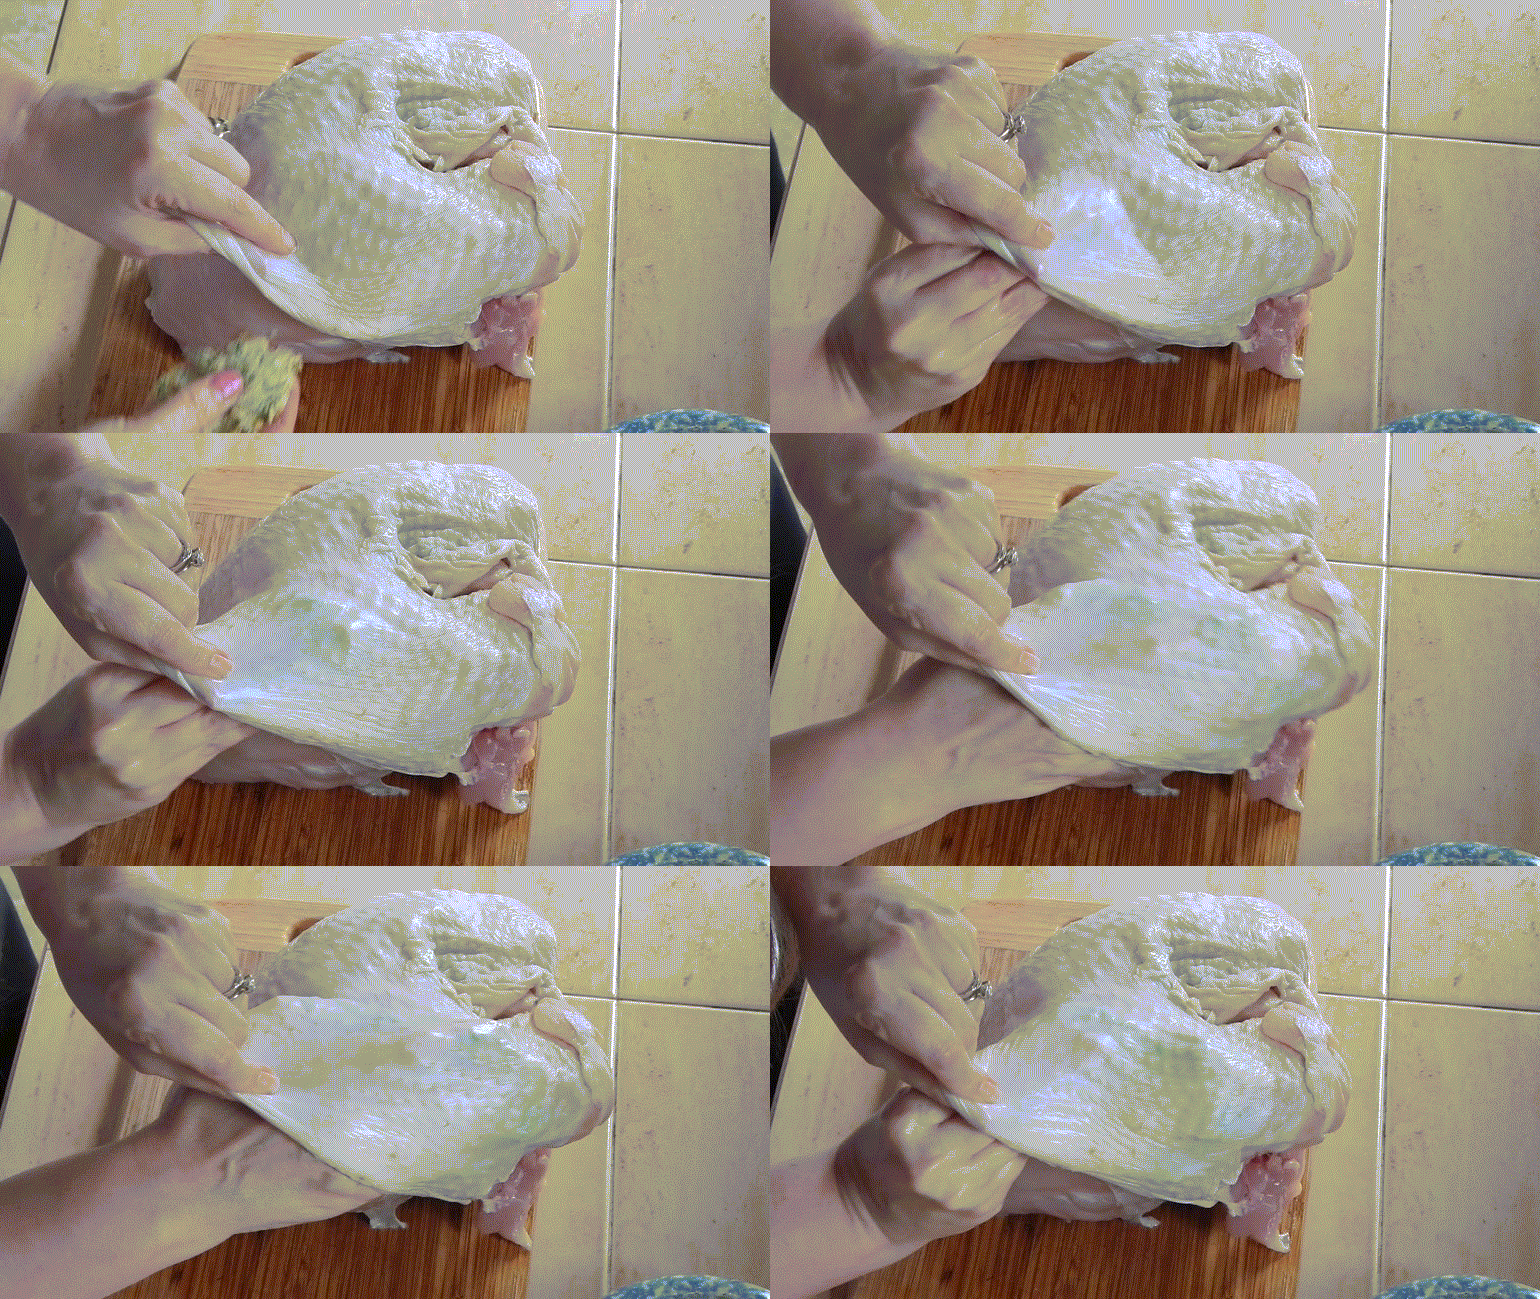
Next you’ll carefully separate the skin from the turkey meat by sliding your hand in between the skin and breast and working your way up to the breast bone. It seems weird at first if you’ve never done it but hang in there…it’s easy! Once you’ve done that you will work half of the softened butter-herb mixture under one half of the turkey breast, repeating the process on the other side of the turkey breast.
Using your hands again, gently rub the turkey skin to evenly distribute butter over the entire breast. Basically you’re smoothing out all that butter and herb mixture so it’s evenly distributed under the skin.
Place the turkey in a V-rack sprayed with cooking spray and set it inside a large roasting pan. Pour one cup of water into the roasting pan.
Roast the turkey for 30 minutes. Reduce the oven temperature to 325 degrees. Continue roasting turkey until the thickest part of breast registers 160 degrees on instant-read thermometer, about 1 hour longer. Transfer turkey to carving board and let rest for 20 minutes before carving.
Fresh Succotash

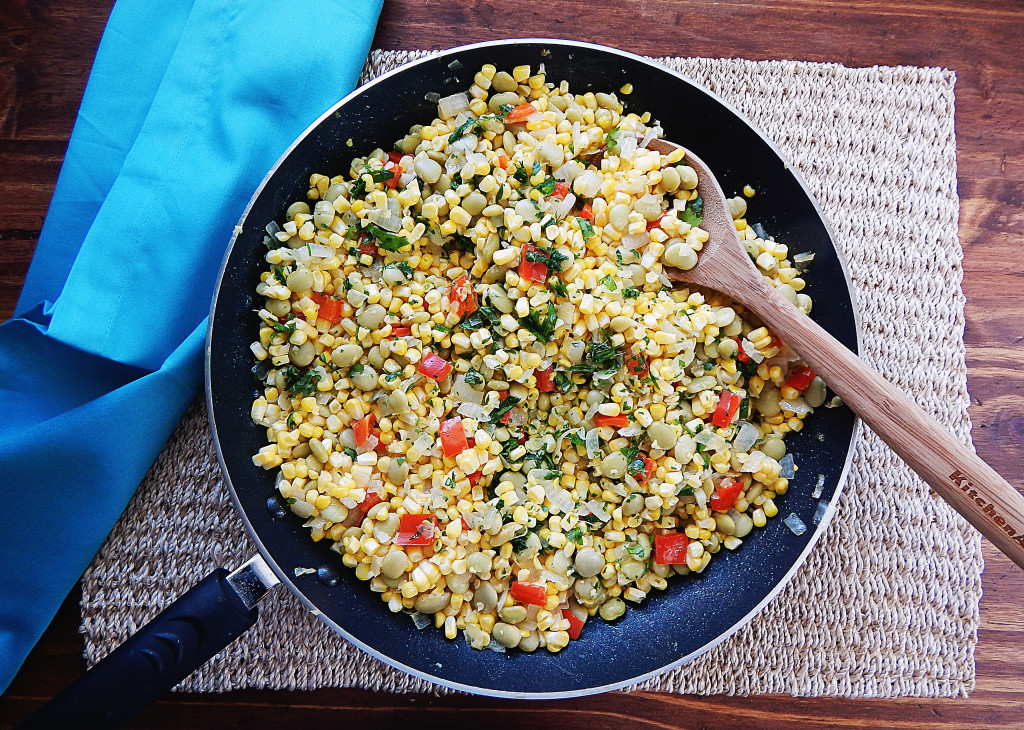
If the only succotash you’ve ever had was corn and lima beans, frozen in a bag and drowned in a heavy cream sauce then you have to try this recipe! It’s so easy and quick to put together using fresh corn off the cob. You absolutely don’t want to substitute the fresh corn in this recipe for frozen or canned. The crisp kernels really make this a stand out dish that everyone will love.
I know, I know…nobody loves to take the corn off of the cob. It can be a messy job! I have a trick that makes removing the corn from the cob super simple and neat. Just place the stem of your corn cob into the hole of a bundt pan and then remove the kernels with a sharp knife. The bundt pan catches the kernels with no mess!
To keep this recipe quick and easy I’m using canned butter beans for a creamy consistency and mild flavor, reserving some of the liquid to make a light sauce. Fresh red peppers add gorgeous color along with onion and garlic sauteed in a little butter because well…corn and butter just go together! Adding a little lemon juice to the reserved butter bean liquid really brightens everything up, don’t skip it. Parsley adds more freshness to the flavors and the little kick of cayenne makes this dish perfect! It tastes like summer on a plate!
Easy Chicken Cutlets for Two with a Quick Sun-Dried Tomato Sauce

I admit it. I’ve never really liked chicken breast. My husband does however, so I set out to find a recipe that I could love too. I wanted chicken breast that wasn’t bland and dry. Cooks Illustrated had a recipe that was super simple with very little time investment and it turns out that’s the trick. Cooking chicken cutlets should only take a few minutes or you start getting into that dry territory. Having the cutlet tender was one thing but I still want flavor and lots of it! The quick sun-dried tomato sauce is THE answer to flavorful and NOT boring chicken! You can make the sauce during the weekend and just toss it in the fridge and when you’re ready to saute the chicken cutlets during the week you can have dinner on the table in nothing flat!
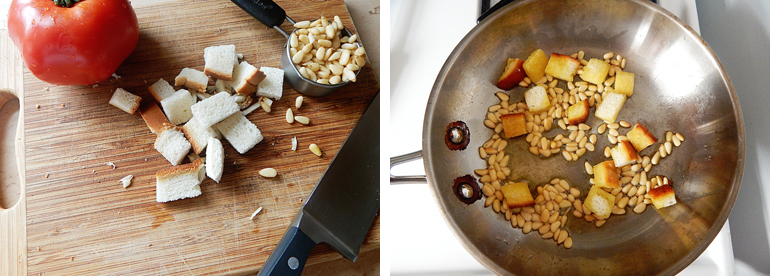
This sauce is loaded with flavor and only takes about 5 minutes to put together. You’ll start with oil-toasted bread and pine nuts which add richness and texture. Next you’ll add in some no-cook ingredients to build up the sauce and then finally add in fresh herbs and spices for a boldly flavored sauce.
For the chicken breast you’ll need to slice them in half horizontally and then pound them between two sheets of plastic wrap to about 1/4 inch thickness. It’s easier to slice the breast if you freeze them for about 15 minutes first. All you need for seasoning is salt and pepper and then a quick two minute saute in hot oil set over medium-high heat, don’t add the chicken until the oil is starting to smoke though. Once you place the cutlet in the pan don’t touch them for two minutes so they get nice and browned. Flip them over for a minute more. Remove them to a plate and loosely tent them with foil for 5 minutes before serving.
I’m so glad I found a chicken breast recipe that I could love! This one’s just too easy not to try, so make it for dinner and let me know what you think!
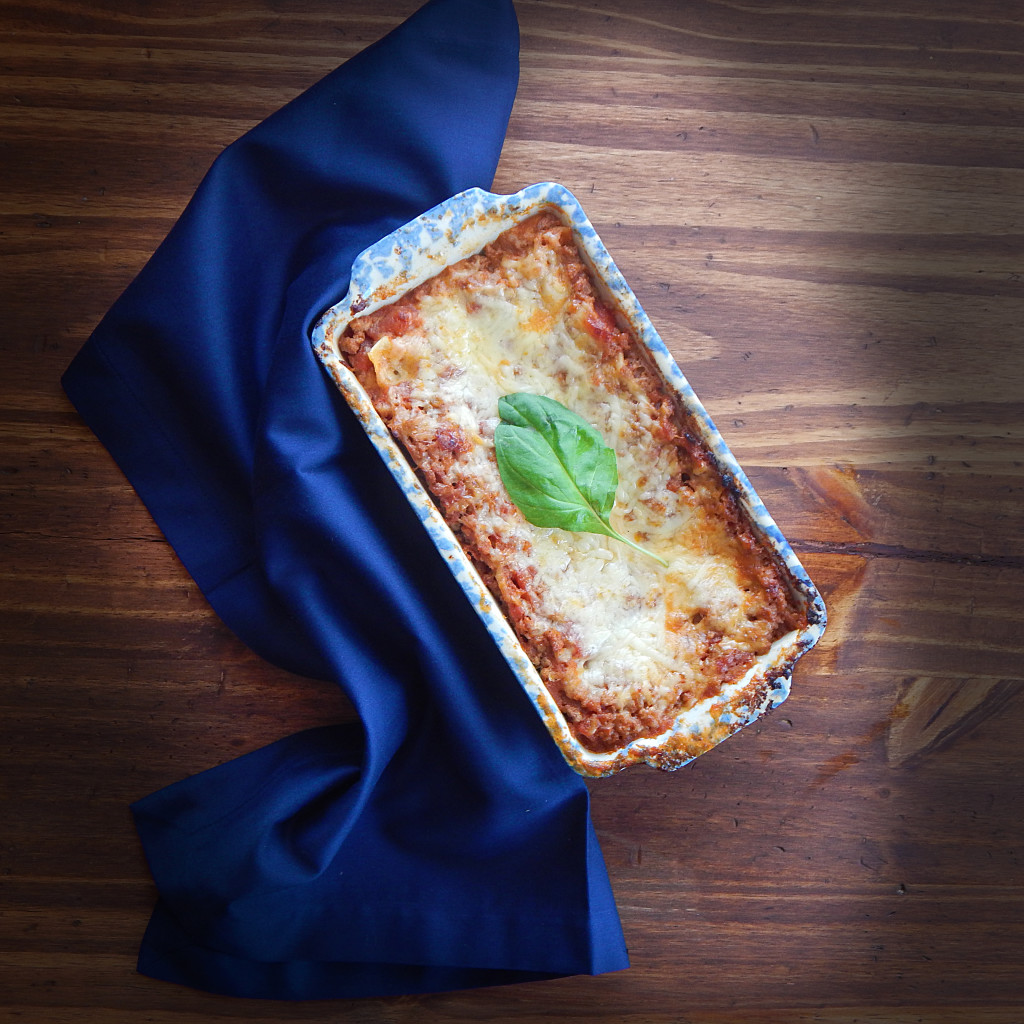
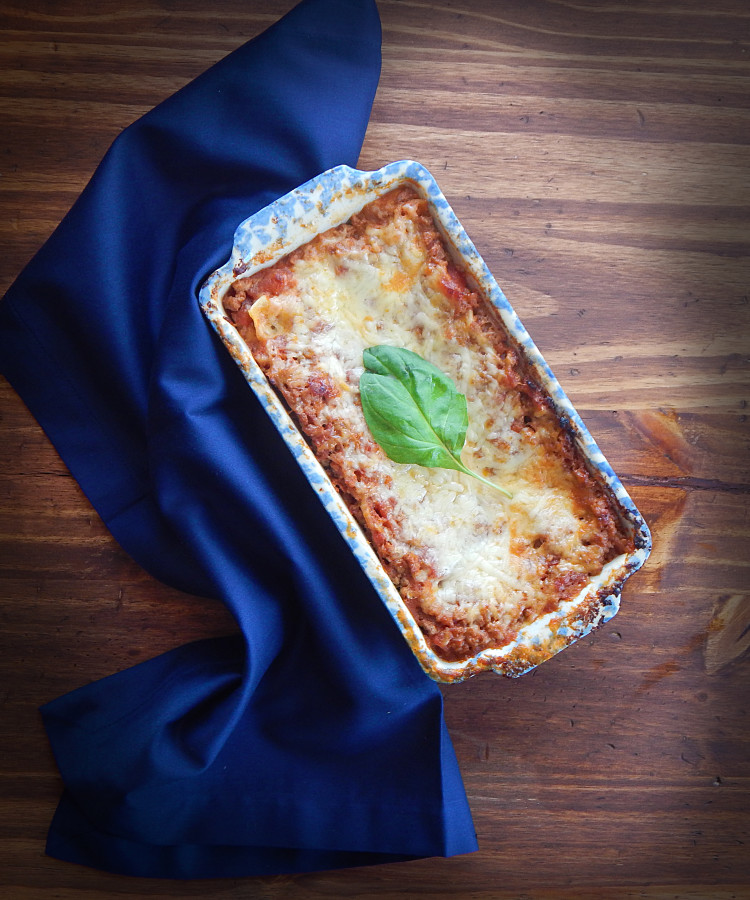
Lasagna for Two
Tom and I never go out on Valentine’s Day. Everything is so crowded so I make something special at home. Last year we had steak but this year I wanted something else. My son and his wife are in Italy right now for their wedding anniversary as well as Valentine’s day…seriously, how romantic is that?! They have sent me some amazing photos of landscapes, architecture and food and I got very inspired to make something Italian! Here’s a gorgeous shot they took in Como.
I might not be able to eat in Italy this Valentine’s Day, maybe next year, 
This is super easy to put together and even though I don’t usually use no-boil lasagna noodles, I did in this dish and it really turned out great! Just go through the list of ingredients and get everything prepared ahead and the recipe will come together much easier. I used my food processor to chop the vegetables and shred the cheese.
Next, you’ll heat the oil until it shimmers and saute the onion for 5 minutes before adding the garlic, cook for another minute or until the garlic is fragrant. Toss in the ground meat and brown it until no longer pink. Stir in the cream and keep cooking until the liquid is evaporated. Stir in the tomatoes, reserved juice and tomato sauce and simmer for a couple of minutes. Taste it and add salt and pepper, I added an 1/8 tsp of each. In a separate bowl combine the ricotta, 1/2 cup Parmesan cheese, egg, basil and 1/8 tsp of both salt and pepper.
Spread 1/2 cup sauce over bottom of loaf pan that’s been sprayed with cooking spray. Lay 1 noodle in pan, spread one-third of ricotta mixture over noodle, sprinkle with 1/4 cup mozzarella, and top with 1/2 cup sauce; repeat layering 2 more times. Lay remaining noodle in pan and top with remaining sauce, remaining 1/4 cup mozzarella, and remaining 2 tablespoons Parmesan. I had quite a bit of sauce left-over at the end to pour on top and you might too. Don’t be worried, just pour it all on and it will be perfect! I also wanted a bit more mozzarella on top so I sprinkled a little more on top, I like it ooey and gooey!
Wrap it all up in aluminum foil and bake it at 350 degrees for 25-30 minutes. Remove the foil and bake it for 10 more minutes or until the cheese starts to get brown in spots. Let it stand for 20 minutes before diving in. That’s the hard part but you can do it! 
Pasta with Bacon, Butternut Squash and Sage for Two
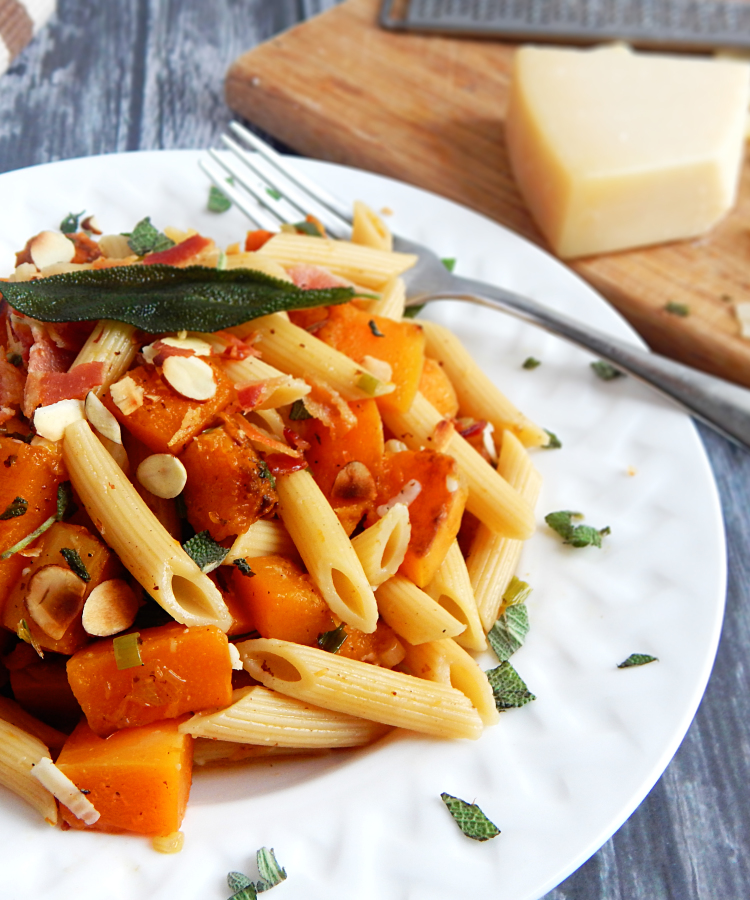
Butternut squash and sage are two ingredients that say winter to me and I love them both, but together they are a marriage made in heaven! Add bacon and you’ve got a happy little family of yummy flavors!
Cooking the sage in the rendered bacon fat makes the perfect herb infused oil for sauteing the squash.
There are a few tricks to coaxing the most flavor out of butternut squash and one is caramelizing it. It helps to dry out some of the wateriness of the squash and brings out some of its inherent sweetness, adding butter and sugar help to bring out the sweet nutty notes of the squash even more.
The scallions add some brightness to the dish and the nutmeg adds just the right spice or earthiness to the dish. Adding parmesan and a little lemon juice at the end along with toasted almonds for some textural crunch really brings the whole dish together!
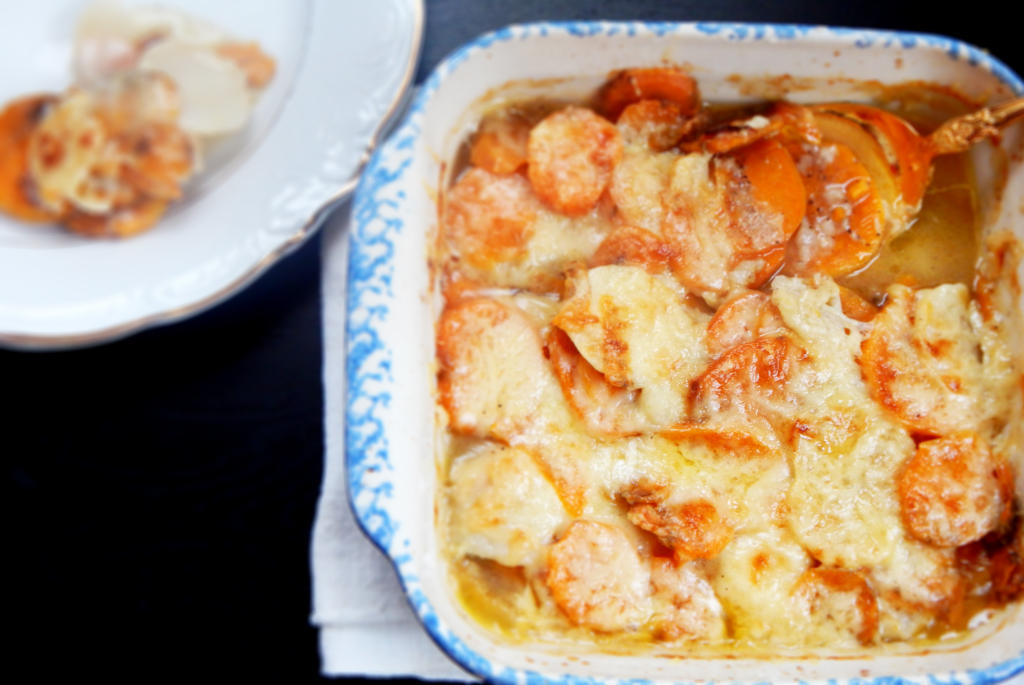
Sweet Potato and Turnip Gratin
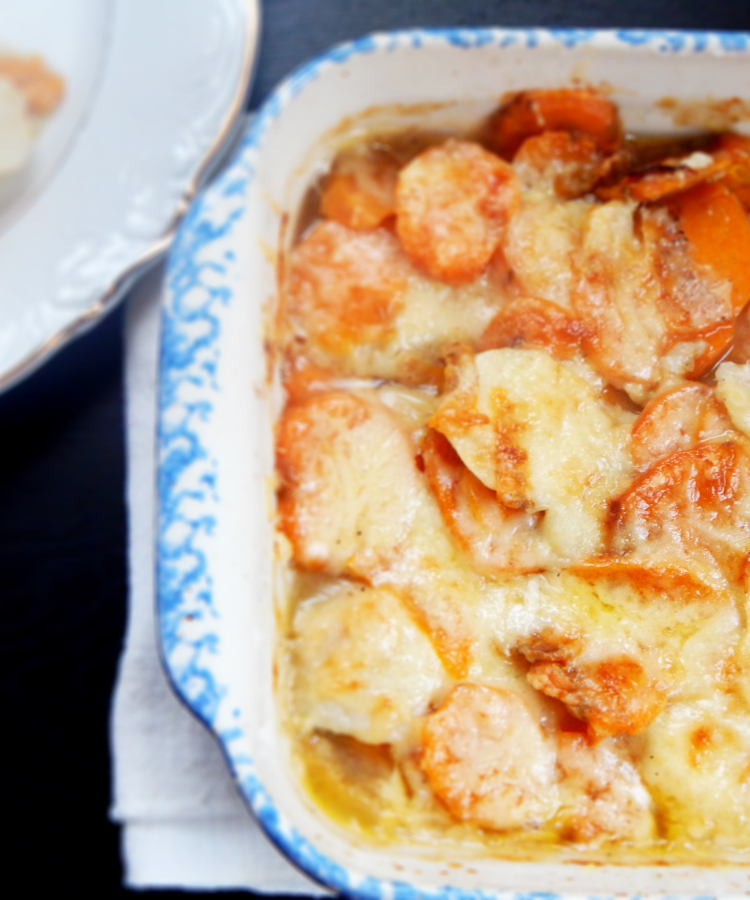
If you still haven’t finished up your menu for Thanksgiving or you’re supposed to bring a side and you haven’t decided what to bring yet, this one is perfect! Sweet potatoes are classic Thanksgiving fare but this recipe adds earthy turnips to the mix which is unexpected but oh so good! The addition of Gruyère cheese and white wine elevate it to special occasion status but it’s easy enough to make anytime!
Take care to slice the sweet potatoes and turnips no more than 1/4 inch thick. I tried my mandoline but found the slices were way to thin so I used a sharp knife instead. Be sure to salt and pepper and add flour to each layer. Gently pour over the chicken broth and wine, cover with foil and bake. Add the cheese after the potatoes are tender and brown in the oven, it’s that simple! If you’re feeding more than six you may want to double this recipe and bake it in a 13 x 9 pan. You will definitely want to taste the potatoes to make sure they are tender before adding the cheese. I needed a full hour in the oven to get mine tender.
If you make this, let me know what you thought! Tom taste-tested this for me about a half hour ago…he’s now sleeping! He taste-tested A LOT of it so I think that means he liked it!
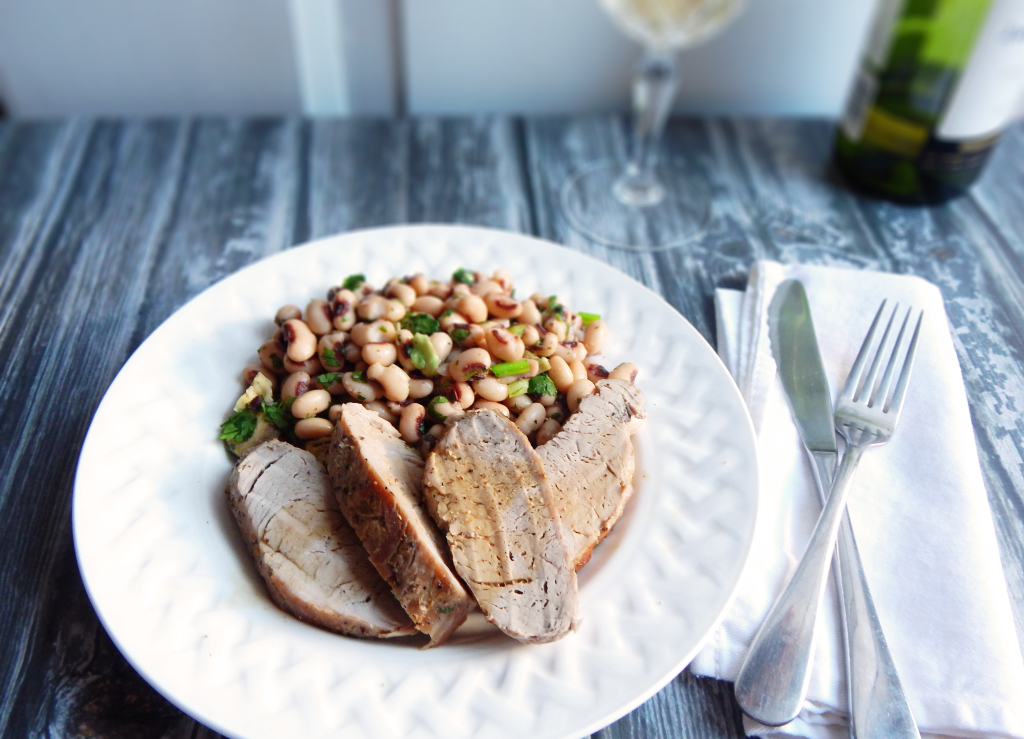
Quick and Easy Broiled Pork Tenderloin and Black-Eyed Pea Salad for Two
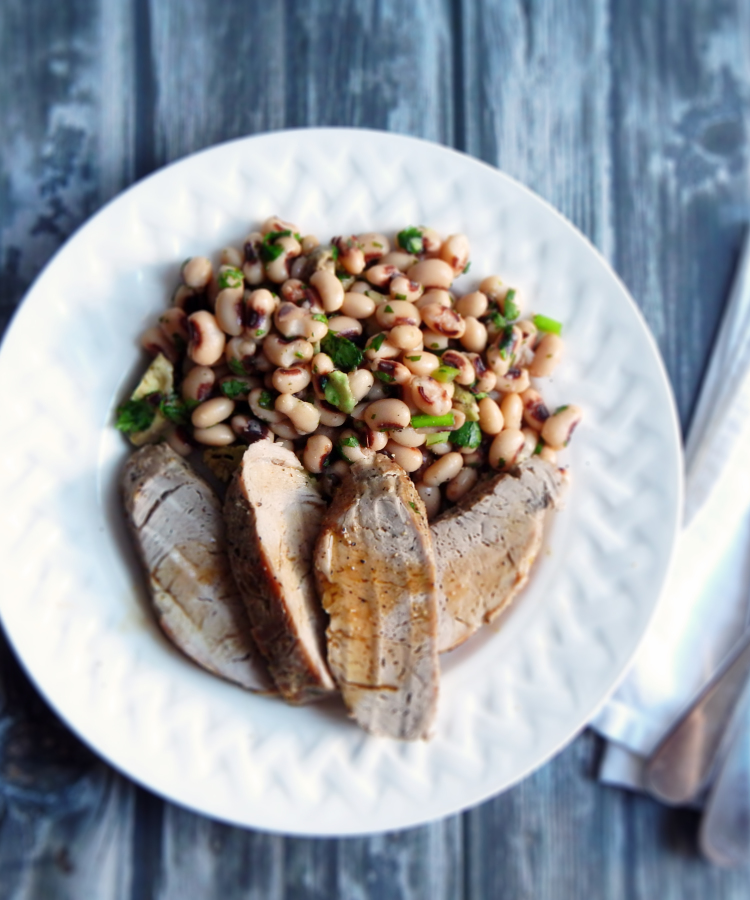
I love fast, easy meals during the week. This recipe is healthy, low in fat, diabetic friendly, and you can have it on the table in 20 minutes! I think the broiler is so under utilized. I don’t know why I don’t use it more often, it’s so quick! Toss the pork in the oven and in 10 minutes it’s done! I also love the black-eyed pea salad and could just make a meal off of that alone! I love how it doesn’t have any oil in the dressing, just fresh lime juice. I have used bottled lime juice when I didn’t have any limes and it was great! I have also substituted cilantro for the parsley when I had too much cilantro in the fridge.
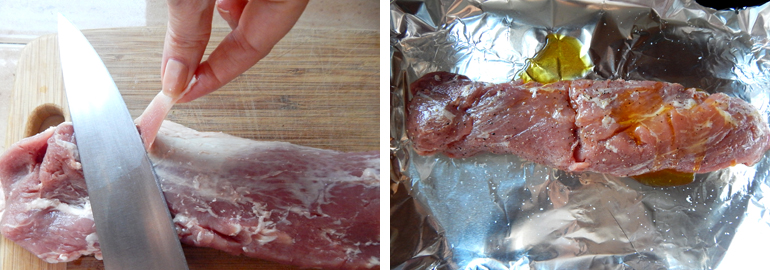
The first thing you’ll want to do is to set your oven to broil and raise the rack in your oven to the top. Next you’ll remove the silver skin on the pork loin, it’s tough and can cause the pork to curl if it’s not removed. Remove any fat as well. Rub a teaspoon of oil on the meat and then season with salt and pepper. I like to line the pan with foil for easy clean up. Place the pork loin in the oven and set a timer for 5 minutes to check it and turn it if it’s brown. You’ll want to turn the pork once for even cooking.
 While the pork is cooking go ahead and rinse your peas really well. Place the rinsed and drained peas in a bowl and add 1/2 of a diced avocado, 1 scallion, and 2 tablespoons of chopped parsley and fresh lime juice.
Check the pork if you haven’t already and flip it for another 5 minutes. Insert an instant read thermometer. You’ll want a temperature between 140-145 degrees. Let the meat rest for 10 min. Slice against the grain and drizzle the pork with any pan juices. Enjoy!
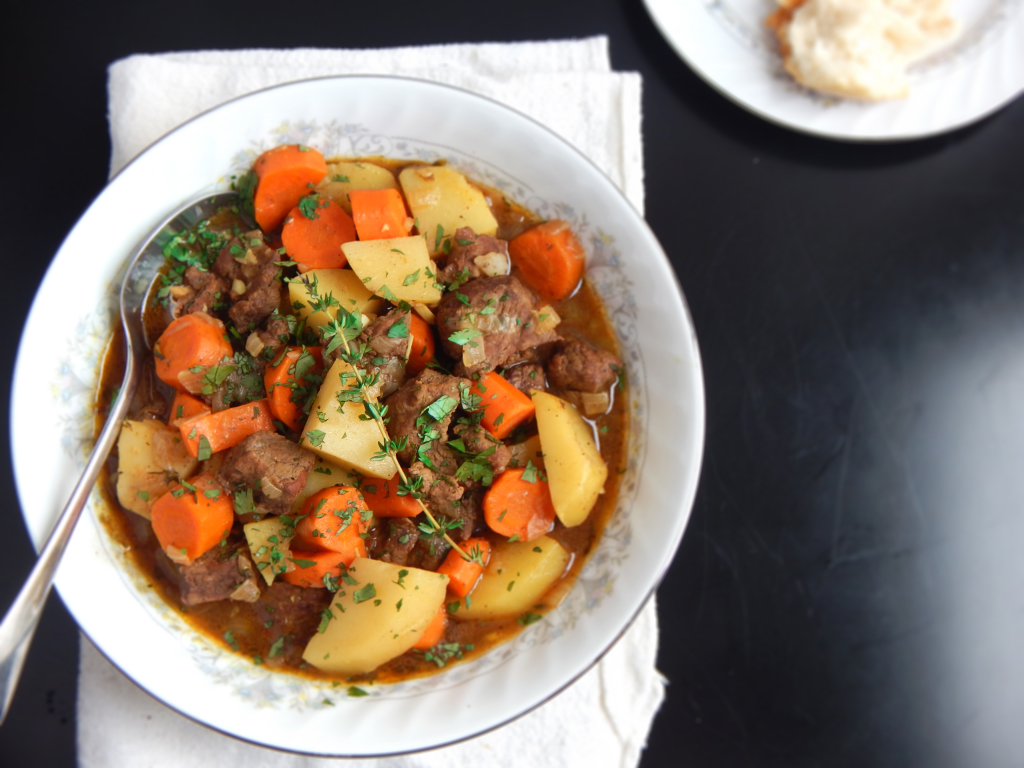
Easy Beef Stew for Two

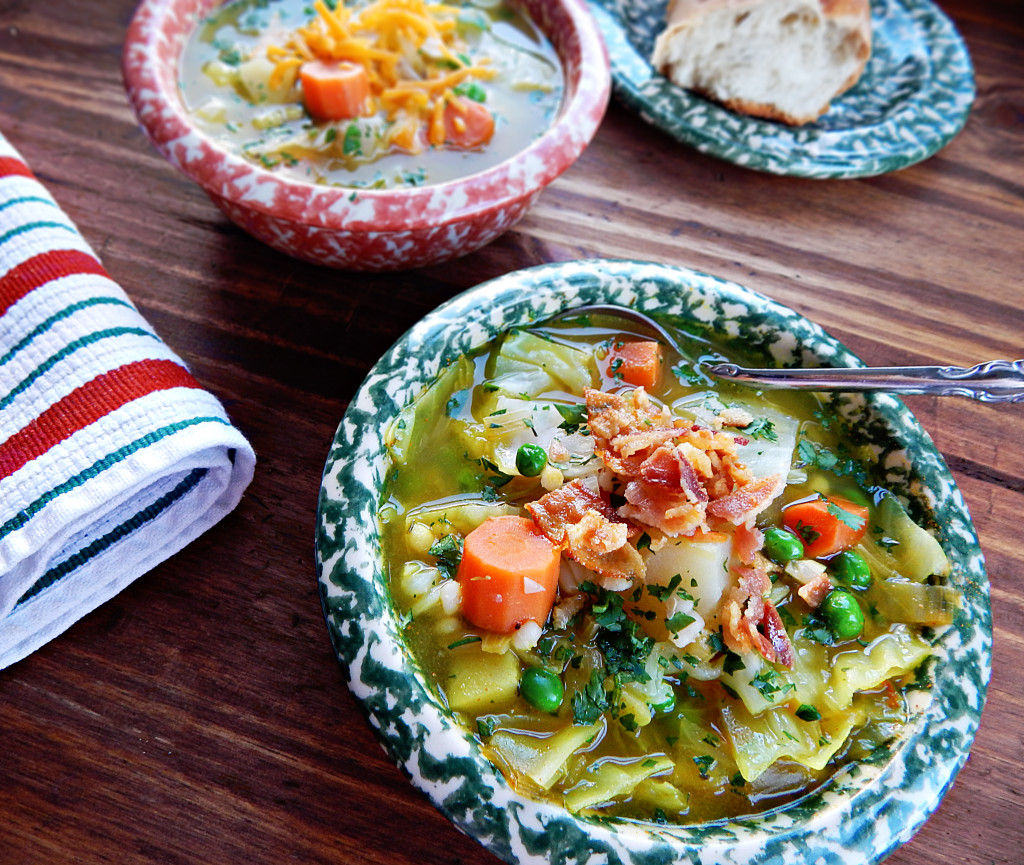
It’s cold out today! When it’s cold out I immediately think of warm, comforting food and this super easy full-bodied stew is perfect for cold days! This red wine-braised beef stew is the ultimate one-pot meal, loaded with tender potatoes and carrots. Don’t forget a loaf of crusty French bread for sopping up the rich sauce.
Many stew recipes call for cooking the meat and vegetables at the same time, leaving the vegetables overcooked and mushy. Instead, first braise the meat with onions in red wine and beef broth until a rich sauce develops. Then, after about an hour, add carrots, and potatoes. By the time the vegetables are cooked, the beef will be tender, then just stir in some peas if you like, for a little freshness and color. I sprinkle a little fresh parsley in at the end. You can also spoon the stew over buttered egg noodles. YUMMY!


