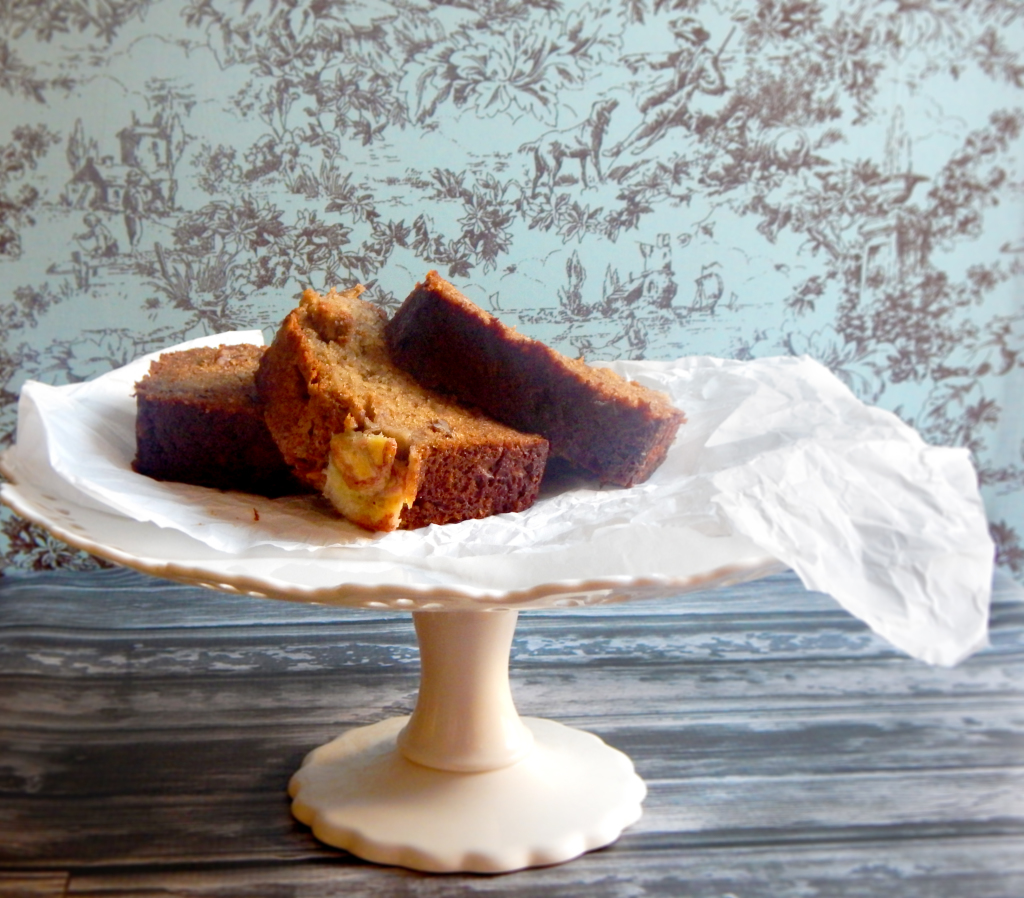
The Ultimate Banana Bread

If you’re looking for the best banana bread but don’t want to make a dozen recipes trying to find it, rest easy, I’ve done it for you! This recipe from Cooks Illustrated has a little science behind it in extracting the most banana flavor possible from bananas for a moist, tender loaf with over-the-top banana flavor!
Most banana bread recipes use just 3 bananas but this one uses 6! How do you add that many bananas without getting pudding you ask? There’s a secret to it….we’ll extract the juice from the bananas!
Who Knew Bananas had Juice?
We’ll add banana flavor without adding too much moisture to our banana bread by microwaving the fruit and draining it. Then we’ll simmer the banana liquid in a saucepan until it’s reduced and then incorporate it into the batter. We’ll use brown sugar instead of granulated and swap out oil for the nutty richness of butter. Toasted pecans give our banana bread a nice crunch, and a sixth banana sliced thin and caramelized on top of the loaf gives this banana bread an enticingly crisp, crunchy top.
Do it Ripe!
As bananas ripen, their starch converts to sugar so be sure to use very ripe, heavily speckled (or even black) bananas in this recipe. If you use anything less than very ripe bananas, you’ll end up with a very bland loaf.
EXTRACT JUICE
Microwaving ripe bananas for 5 minutes causes them to release “juice.”
STRAIN IT OUT
After straining the bananas, you should have 1/2 to 3/4 cup of liquid to work with.
REDUCE THE JUICE
Reducing the banana liquid yields a concentrated liquor, intensifying flavor without making the loaf wet.
Pour the reduced banana juice back into the bananas, mash and add the butter, eggs, brown sugar and vanilla. Pour banana mixture into the flour mixture and stir until just combined with some streaks of flour remaining. Gently fold in the pecans. Pour the batter into a pan sprayed with cooking spray. Add the 6th banana to the top, layering the banana slices on either side of the loaf. This will add more banana flavor and it looks pretty! Make sure to leave a 1 1/2 inch wide space down the center so the loaf will rise evenly.
It really is best after it’s been cooled a bit and fresh from the oven. That’s when the crust is the crunchiest! Okay enough talking, the banana bread is calling me! 🙂


- 1 3/4 cups unbleached all-purpose flour
- 1 teaspoon baking soda
- 1/2 teaspoon table salt
- 1 teaspoon cinnamon
- 6 large very ripe bananas (about 2 1/4 pounds), peeled
- 8 tablespoons (1 stick) unsalted butter, melted and cooled slightly
- 2 large eggs
- 3/4 cup packed light brown sugar
- 1 teaspoon vanilla extract
- 1/2 cup pecans or walnuts, toasted and coarsely chopped
- 2 teaspoons granulated sugar, for sprinkling on top
- Adjust oven rack to middle position and heat oven to 350 degrees. Spray 9-inch loaf pan with nonstick cooking spray. Whisk flour, baking soda, salt, and cinammon together in large bowl.
- Place 5 bananas in microwave-safe bowl; cover with plastic wrap and cut a few steam vents in plastic with small knife. Microwave on high power until bananas are soft and have released liquid, about 5 minutes. Transfer bananas to fine-mesh strainer placed over medium bowl and allow to drain, stirring occasionally, 15 minutes (you should have 1/2 to 3/4 cup liquid).
- Transfer liquid to medium saucepan and cook over medium-high heat until reduced to 1/4 cup, about 5 minutes. Remove pan from heat, stir reduced liquid into bananas, and mash with potato masher until fairly smooth. Whisk in butter, eggs, brown sugar, and vanilla.
- Pour banana mixture into flour mixture and stir until just combined with some streaks of flour remaining. Gently fold in walnuts, if using. Scrape batter into prepared pan. Slice remaining banana diagonally into 1/4-inch thick slices. Shingle banana slices on top of either side of loaf, leaving 1 1/2-inch-wide space down center to ensure even rise. Sprinkle granulated sugar evenly over loaf.
- Bake until toothpick inserted in center of loaf comes out clean, 50 to 70 minutes. Cool bread in pan on wire rack 15 minutes, then remove loaf from pan and continue to cool on wire rack. Serve warm or at room temperature.
Salted Butter Caramel Sauce

Ooey, gooey caramel…who doesn’t love caramel?! I love it on ice cream, I love to dip fruit in it…I love to eat it right out of the jar! I also love it drizzled on apple desserts like this Apple Crumble. This one’s easier because you add the water first instead of the sugar so you don’t have to worry about stirring right away. Keeping the lid on the pot also allows condensation to keep crystals from forming. Try it out if you’re new to making caramel sauce! Make sure your pot isn’t too small because when you add the cream the mixture will boil furiously.
If you don’t own a candy thermometer, spot-check the sugar syrup with an instant-read thermometer that can read temperatures in excess of 350 degrees. Otherwise, follow the time approximations in the recipe and watch the color of the sugar syrup; it should be a deep amber color before the cream is added. To keep the sauce from clumping, make sure the cream is hot before adding it to the sugar syrup; try to coordinate it so that the cream reaches a simmer when the sugar syrup reaches 350 degrees.


- 2 cups granulated sugar
- 1 cup heavy cream
- pinch table salt
- 2 tablespoons salted butter, cold
- pinch of sea salt if desired
- Pour 1 cup water into 2-quart heavy-bottomed saucepan.
- Add sugar to center of pot to keep granules from adhering to sides of pot.
- Bring to boil over high heat, covered.
- Uncover pot, insert candy thermometer, and continue to boil until syrup is thick and straw-colored, registering 300 degrees on candy thermometer, about 15 minutes.
- Reduce heat to medium; continue to cook until sugar is deep amber, begins to smoke, and registers 350 degrees on candy thermometer, about 5 minutes longer.
- Meanwhile, when temperature of syrup reaches 300 degrees, bring cream and salt to simmer in small, heavy-bottomed saucepan over high heat. (If cream reaches simmer before syrup reaches 350 degrees, remove cream from heat and set aside.)
- Remove sugar syrup from heat.
- Pour about one quarter of hot cream into sugar syrup; let bubbling subside.
- Add remaining cream; let bubbling subside.
- Whisk gently until smooth; whisk in butter. Let cool until warm.
- Can be covered and refrigerated up to 1 month; reheat in microwave or small saucepan over low heat.
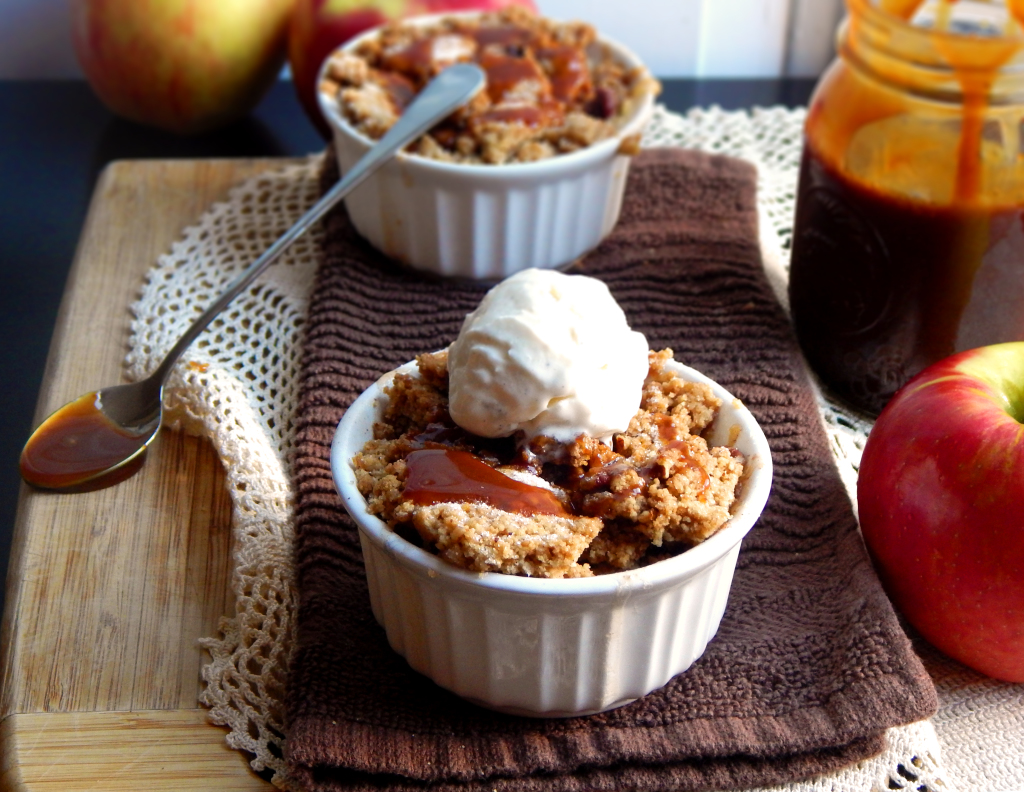
Apple Crumble with Salted Butter Caramel Sauce

So, desserts have always been my thing and everyone is asking…”Where are your desserts?!” Scaling down desserts for two isn’t the easiest thing in the world but this one was super easy! So here it is, my first dessert on the blog and I promise many more to come!
Now I know that they say that an apple a day will keep the doctor away but what about an apple crumble?! I kind of doubt it, but this recipe is still great because of it’s perfect little sweet portion control size! You only get one and it really is just the right amount! Everything in moderation, right? 🙂
I love everything apple. Apple pie a la mode is one of my favorite desserts but most of the time I don’t want to fuss with making a crust for apple pie. That’s why I love apple crumble! I have had some crumbles that ended up with a soggy topping and flavorless filling until I tried this recipe with a simple way to make crisp, crunchy crumble and an apple filling that tastes like apple!
Another thing I love is caramel. Caramel and apples just go together! I decided that I wanted to have that caramel flavor with my crumble so I made a quick no-stir Salted Butter Caramel Sauce to drizzle over the top! Yeah, I don’t know when to stop. As if that wasn’t enough, I added a scoop of vanilla ice cream! Maybe that’s gilding the lily but so what, I like my lilies gilded!
The trick to keeping your crumble crisp is to bake it for 20 minutes on a parchment paper lined cookie sheet before adding it to the apple filling. This step insures perfect crumble every time!


- 1/4 teaspoon cornstarch
- 2 teaspoons fresh lemon juice, (approximately 1/2 lemon)
- 1 Granny Smith apple, peeled and cut into 1/2-inch cubes (about 1 cup)
- 1 Golden Delicious apple, peeled and cut into 1/2-inch cubes (about 1 cup) or any sweet apple
- 1/3 cup granulated sugar
- Pinch table salt
- Pinch ground cinnamon
- Pinch ground nutmeg
- 1/2 cup unbleached all-purpose flour
- 2 Tbsps granulated sugar plus 1 tsp
- 2 Tbsps packed brown sugar (light or dark)
- Pinch table salt
- 1 teaspoons vanilla extract
- 3 tablespoons unsalted butter, cut into 3 pieces and very soft
- 1/4 cup chopped pecans
- Adjust oven racks to lower and middle positions; heat oven to 350 degrees.
- Combine cornstarch and lemon juice in medium bowl until cornstarch is dissolved. Add apples, sugar, salt, cinnamon, and nutmeg; toss to combine. Divide apple filling between two ramekins, cover with foil.
- Combine flour, sugars (reserving 1 tsp granulated sugar), and salt in workbowl of a food processor; drizzle vanilla over top. Pulse to combine, about five 1-second pulses. Add butter and half of pecans; process until mixture clumps together into large, crumbly balls, about 30 seconds. Sprinkle remaining pecans over mixture and combine with 2 quick pulses. Transfer mixture to parchment-lined baking sheet and spread into even layer. Place topping mixture on middle rack in oven and apple filling mixture on lower rack. Bake topping until lightly browned and firm, about 20 minutes. Remove both topping and apples from oven.
- Remove foil from apple filling and gently stir. Slide topping over apples and spread into even layer with spatula, packing down lightly and breaking up any very large pieces. Sprinkle remaining tsp sugar over top and place on middle oven rack. Bake until well browned and fruit is tender and bubbling around edges, about 25 minutes. Cool on wire rack until warm, at least 15 minutes; serve with Salted Butter Caramel and a scoop of vanilla ice cream.
- I noticed that my apples were a bit too done and next time I will leave off the first 20 minute bake time with the crumble and will only do the second bake time but that's because I like the apples to still have a bit of firmness, that's just my personal preference.
- You can also easily double this recipe.


